Magento 2: 如何在表單欄位中新增 placeholder

儘管 Magento 2 採用 KnockoutJS 開啟了現代前端功能的可能性,但較於抽象的概念間接提高新的挑戰,在表單欄位中添加 placeholder 不再像打開 HTML 那樣簡單。 在這裡,我們將解釋如何將 placeholder 添加到 Magento 2 表單中。
大多數的欄位
KnockoutJS 用於表單的 HTML模板大部分可以在 /vendor/magento/module-ui/view/frontend/web/templates/form/element
的 UI 模塊中找到。 將所需的任何字段複製到主題文件,位於路徑 /app/design/frontend/Vendor_Name/Theme_Name/Magento_Ui/web/templates/form/element。
以 input 為例
<input class="input-text" type="text" data-bind="
   value: value,
   valueUpdate: 'keyup',
   hasFocus: focused,
   attr: {
       name: inputName,
       placeholder: label,
       <!-- placeholder: placeholder is now placeholder: label -->
       'aria-describedby': getDescriptionId(),
       'aria-required': required,
       'aria-invalid': error() ? true : 'false',
       id: uid,
       disabled: disabled
   }" />
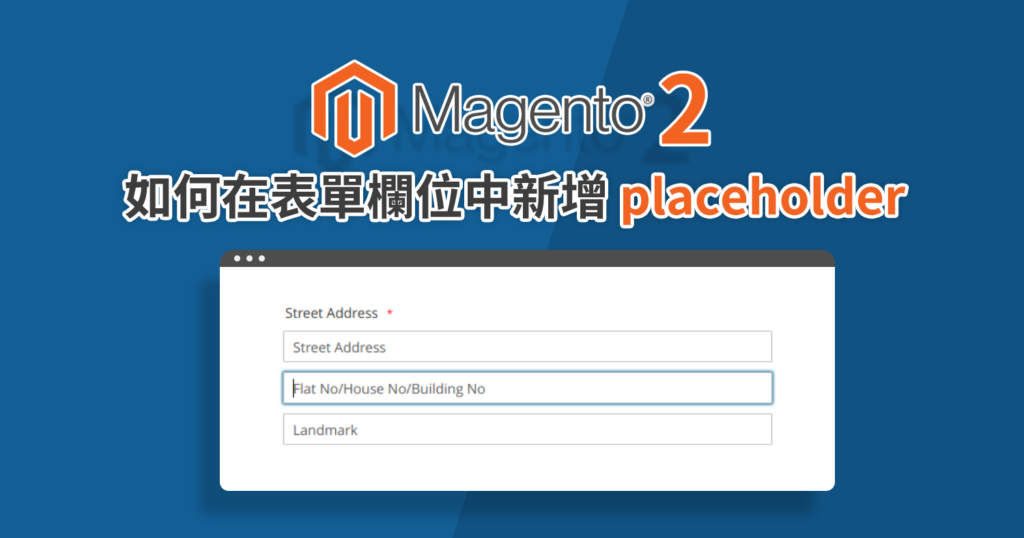
清除 Magento 和瀏覽器的 Cache 後,將可以看到在欄位中的 placeholder 出現與 label 相同的字樣。但並不是所有的欄位都會出現,您可能已經注意到,此解決方案不適用於所有欄位。有某些欄位,例如 street address,在 core 中有另外寫到不輸出 label 的特殊情況。為了解決這些特殊欄位,我們必須使用插件來添加 placeholder。
特殊欄位
如果您在 /vendor/magento/module-checkout/Block/Checkout/AttributeMerger.php 中打開文件,您將在第 265 行看到專門為街道地址欄位設計的功能。 由於此功能是受到保護,因此我們無法將其用於我們的插件。 相反,我們將在第 114 行 使用合併功能,因為這個功能是公開的,才能加以修改。
對於插件文件,我們將使用以下代碼:
/app/code/Vendor/ModuleName/etc/module.xml
<?xml version="1.0"?>
<config xmlns:xsi="http://www.w3.org/2001/XMLSchema-instance" xsi:noNamespaceSchemaLocation="urn:magento:framework:Module/etc/module.xsd">
  <module name="Vendor_ModuleName" setup_version="2.0.0" />
</config>
/app/code/Vendor/ModuleName/registration.php
<?php
\Magento\Framework\Component\ComponentRegistrar::register(
  \Magento\Framework\Component\ComponentRegistrar::MODULE,
  'Vendor_ModuleName',
  __DIR__
);
/app/code/Vendor/ModuleName/etc/di.xml
<config xmlns:xsi="http://www.w3.org/2001/XMLSchema-instance" xsi:noNamespaceSchemaLocation="urn:magento:framework:ObjectManager/etc/config.xsd">
  <type name="Magento\Checkout\Block\Checkout\AttributeMerger">
    <plugin name="shippingAddress" type="Vendor\ModuleName\Plugin\Checkout\Block\Checkout\AttributeMerger\Plugin"/>
  </type>
</config>
/app/code/Vendor/ModuleName\Plugin\Checkout\Block\Checkout\AttributeMerger\Plugin.php
<?php
namespace Vendor\ModuleName\Plugin\Checkout\Block\Checkout\AttributeMerger;

class Plugin
{
  public function afterMerge(\Magento\Checkout\Block\Checkout\AttributeMerger $subject, $result)
  {
    if (array_key_exists('street', $result)) {
      $result['street']['children'][0]['label'] = __('Street Address');
      $result['street']['children'][1]['label'] = __('Flat No/House No/Building No');
      $result['street']['children'][2]['label'] = __('Landmark');
    }

    return $result;
  }
}
  </type>
</config>
成果:

Placeholder 能讓使用者更清楚需要填寫的項目,欄位的意義,我們才能迅速接收到需要的資訊,以上是 Magento 2 欄位新增 placeholder 的技巧,希望有幫助到大家。
喜歡歐斯瑞文章的讀者們,別忘了追蹤我們的粉絲團及IG,也記得要訂閱電子報,密切掌握第一手新知分享喔!有任何問題,也歡迎隨時聯繫我們。


我要留言