
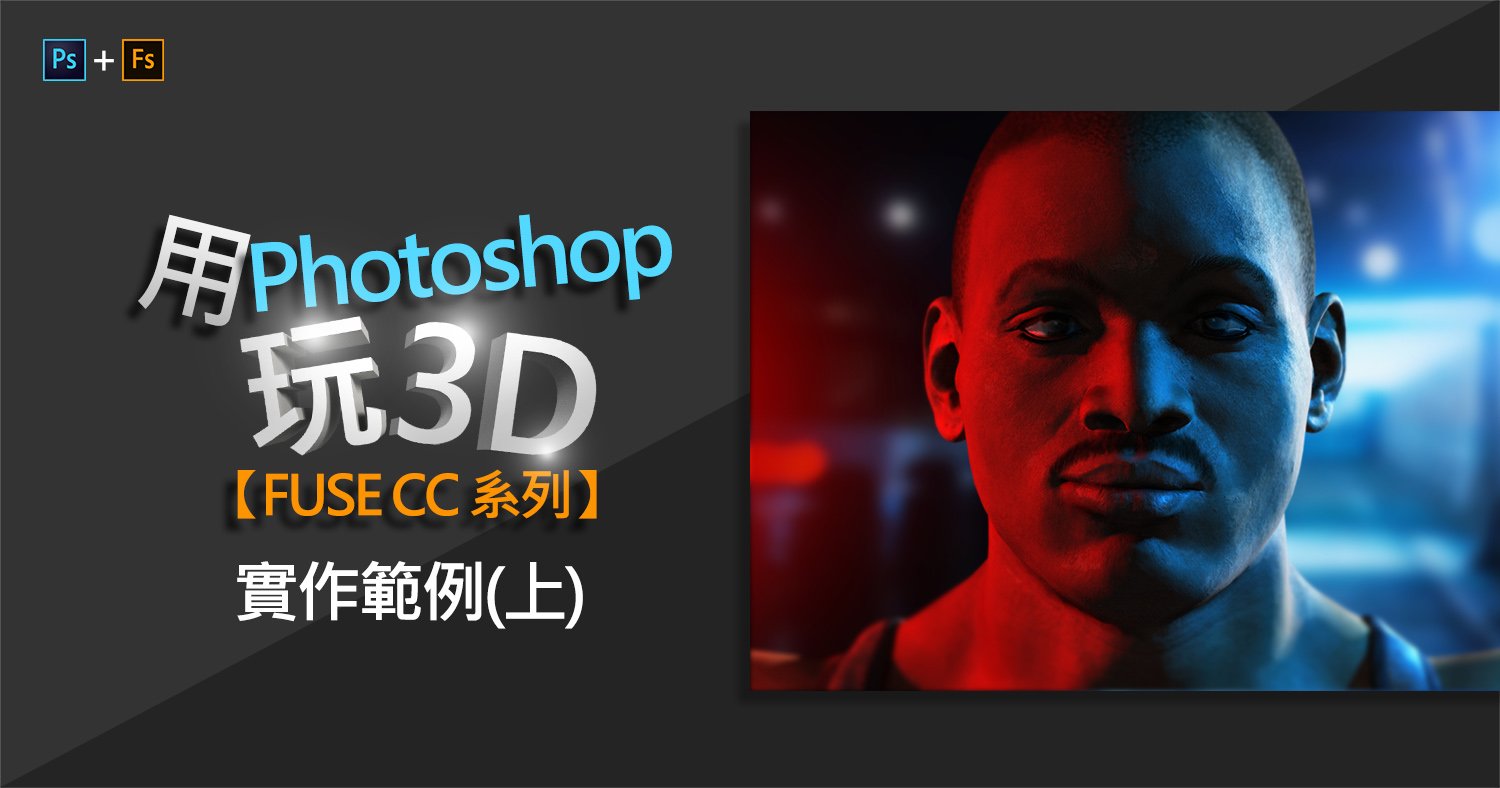
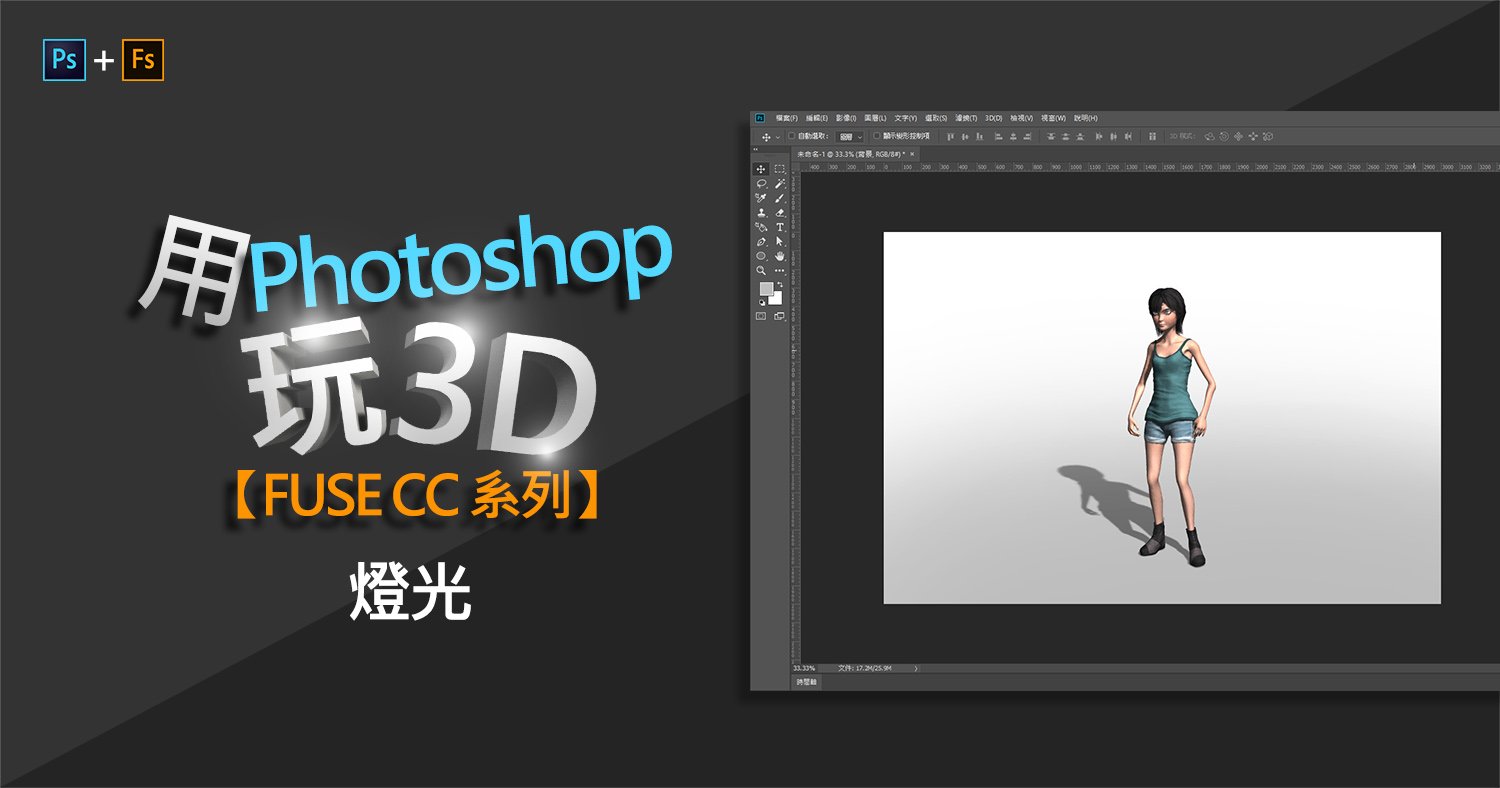
用Photoshop玩3D【Fuse CC系列】實作範例(上)
今天Astral Web要與大家分享使用Fuse與Photoshop來製作實際範例,一起來看看吧!
※ 本教學需先對PS工具使用有基本認識
※ 3D運算會需要較好的電腦設備
如未看過前面幾篇記得先閱讀基本教學喔:
用Photoshop玩3D【Fuse CC系列】1 Fuse介面基本操控
用Photoshop玩3D【Fuse CC系列】2 Fuse建立人物模型
用Photoshop玩3D【Fuse CC系列】3 Fuse臉型與體型調整
用Photoshop玩3D【Fuse CC系列】4 Fuse膚質調整
用Photoshop玩3D【Fuse CC系列】5 Fuse服裝調整
用Photoshop玩3D【Fuse CC系列】6 Fuse匯入到Photoshop
1. 在Fuse中選擇好我們要的模型 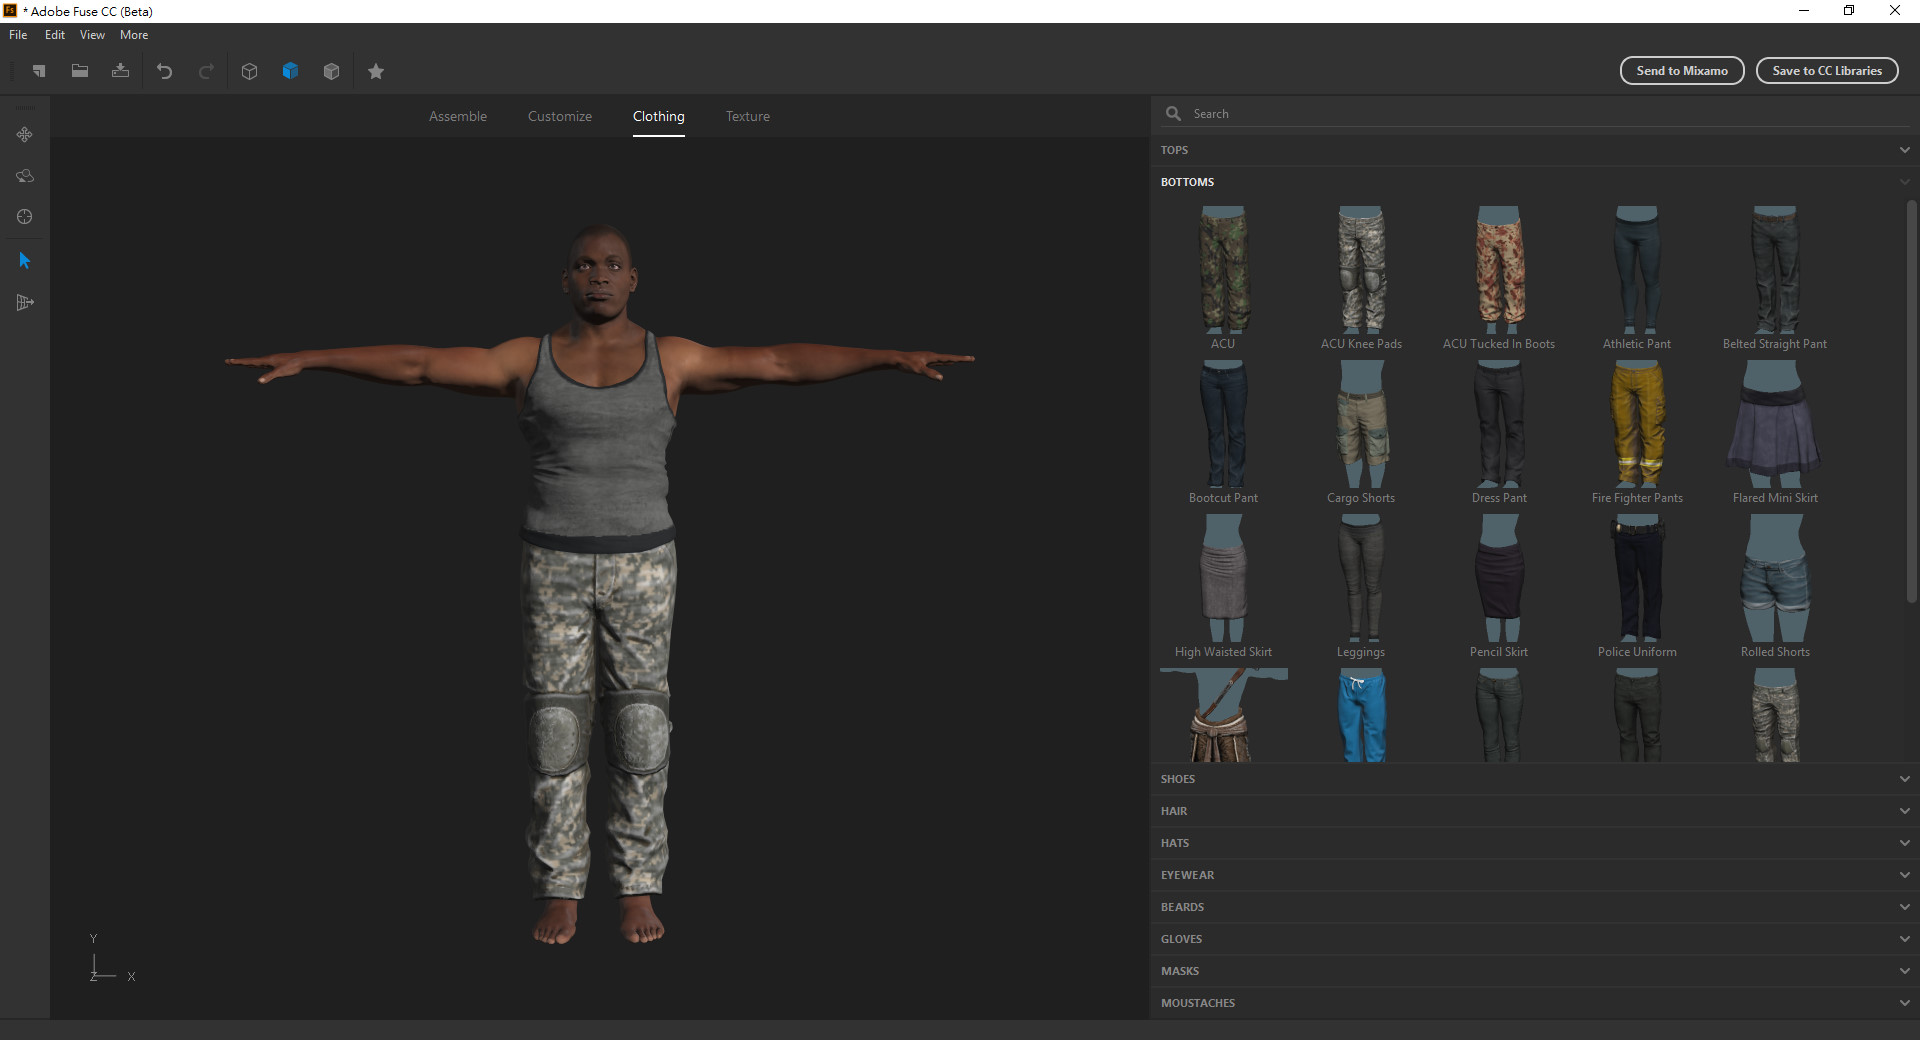
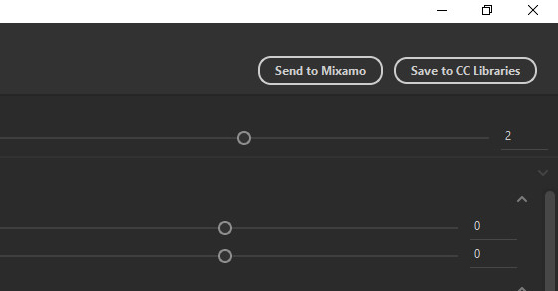
2. 針對各個貼圖的部分我們調整較高畫質的貼圖 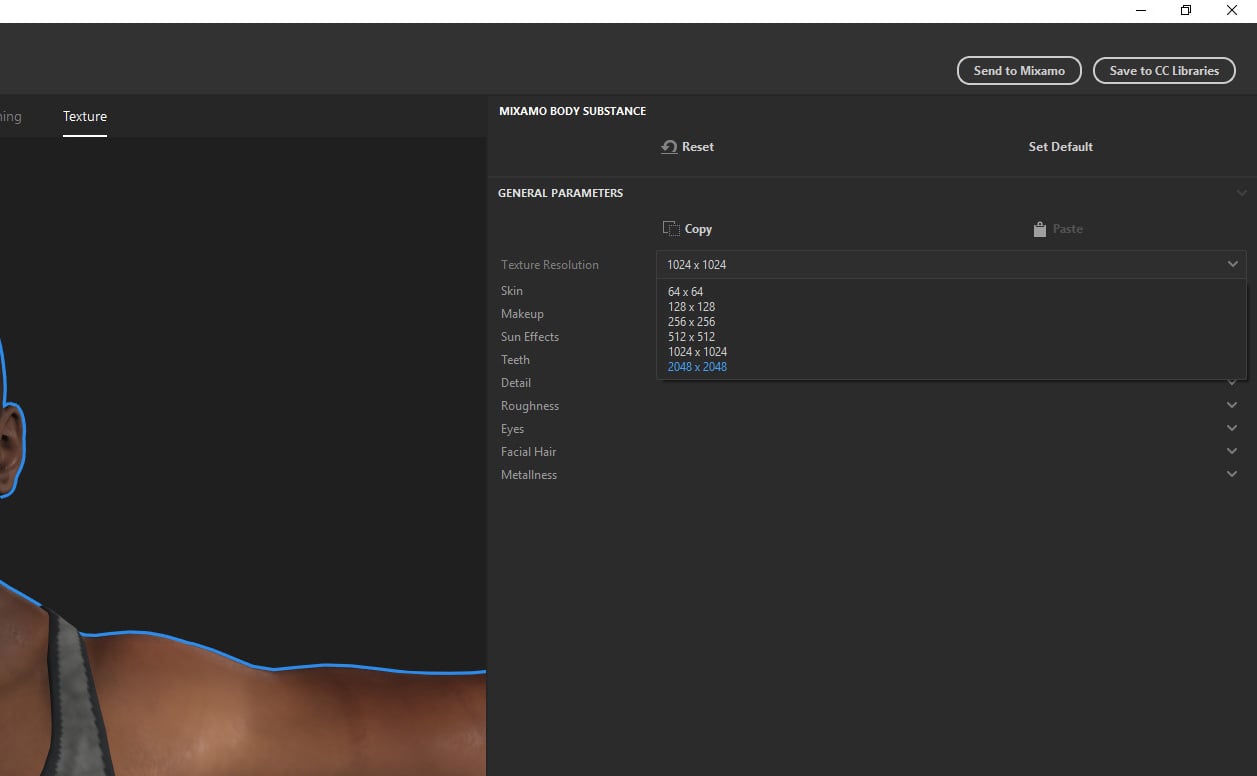
3. 並微調我們要的各個項目 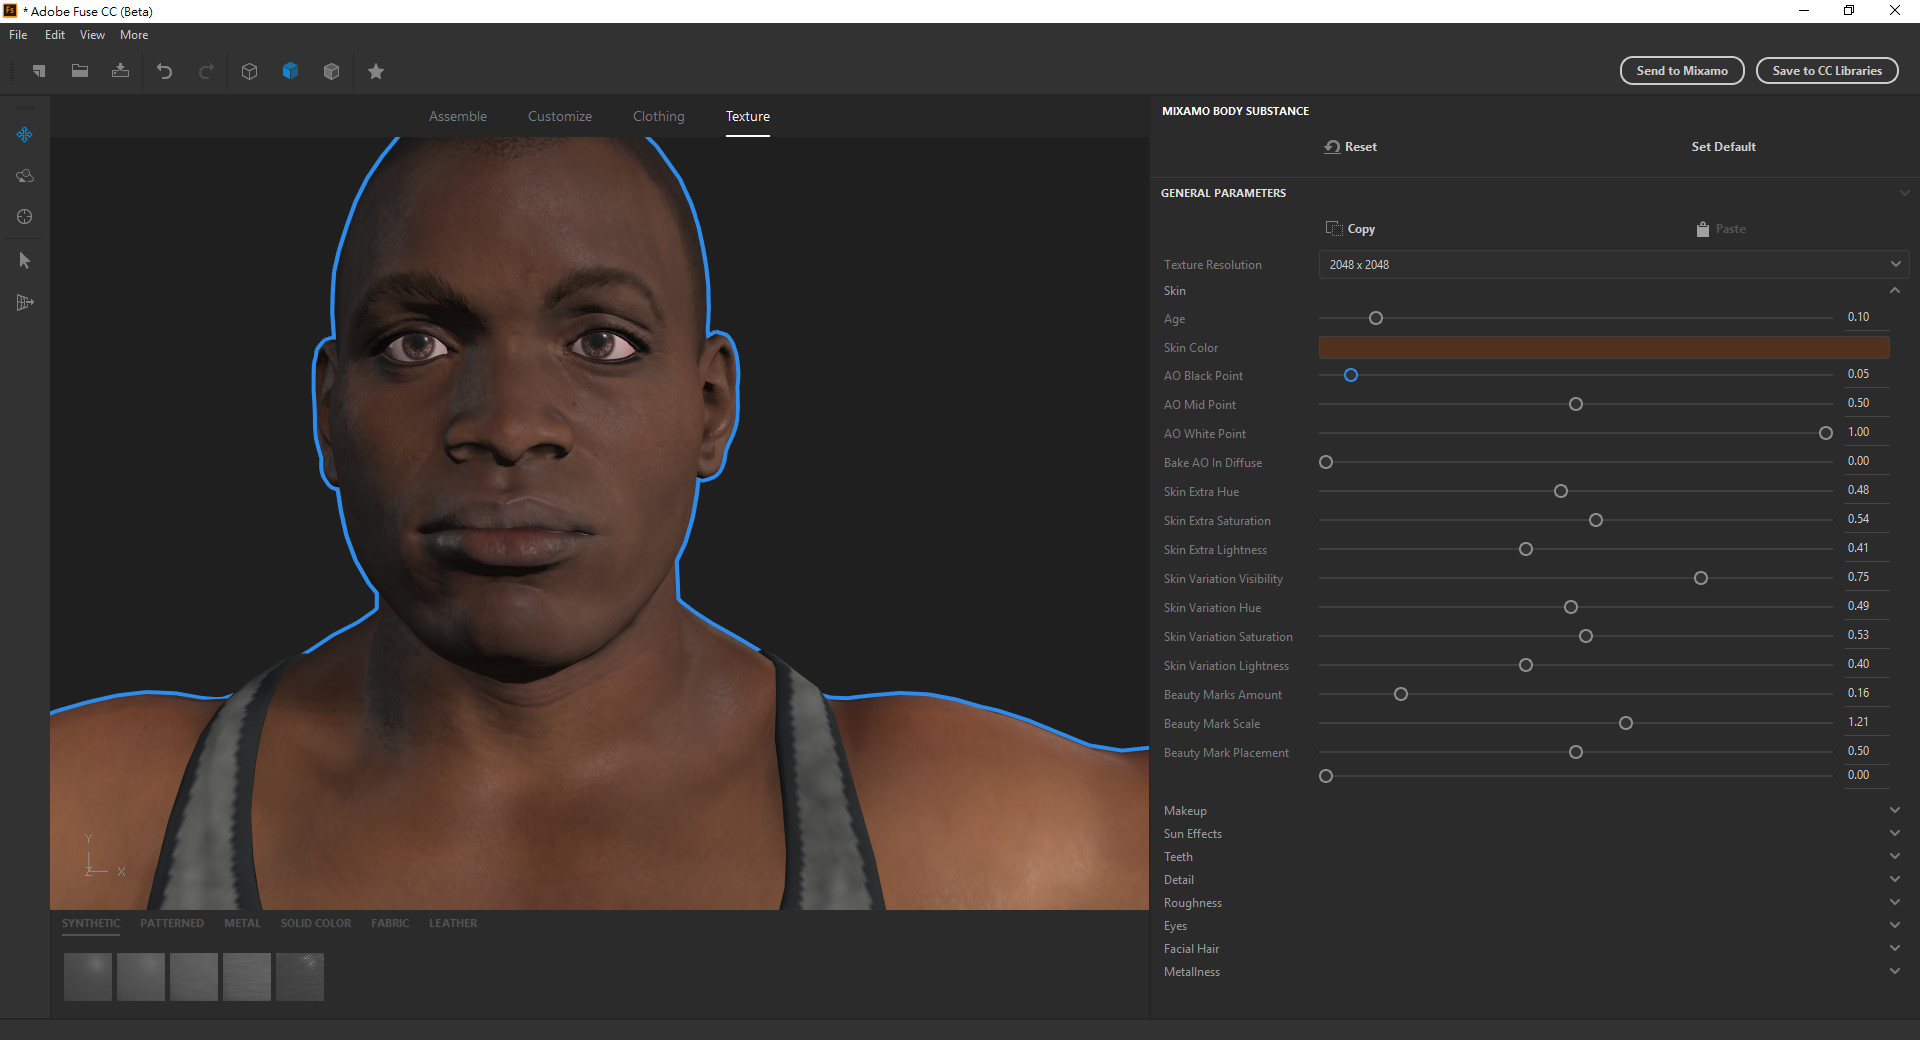

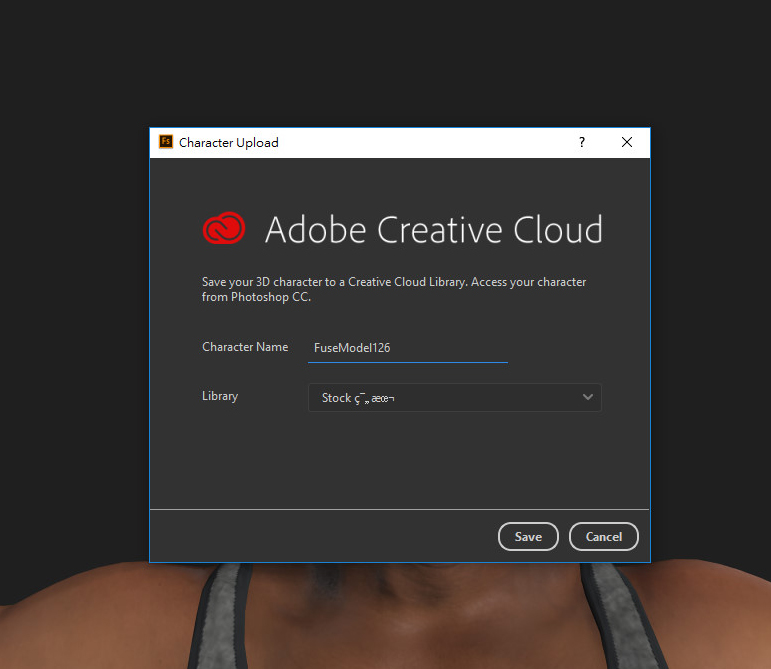
4. 完成後將模型存到雲端,點選Save to CC Libraries儲存
5. 將模型命名然後儲存
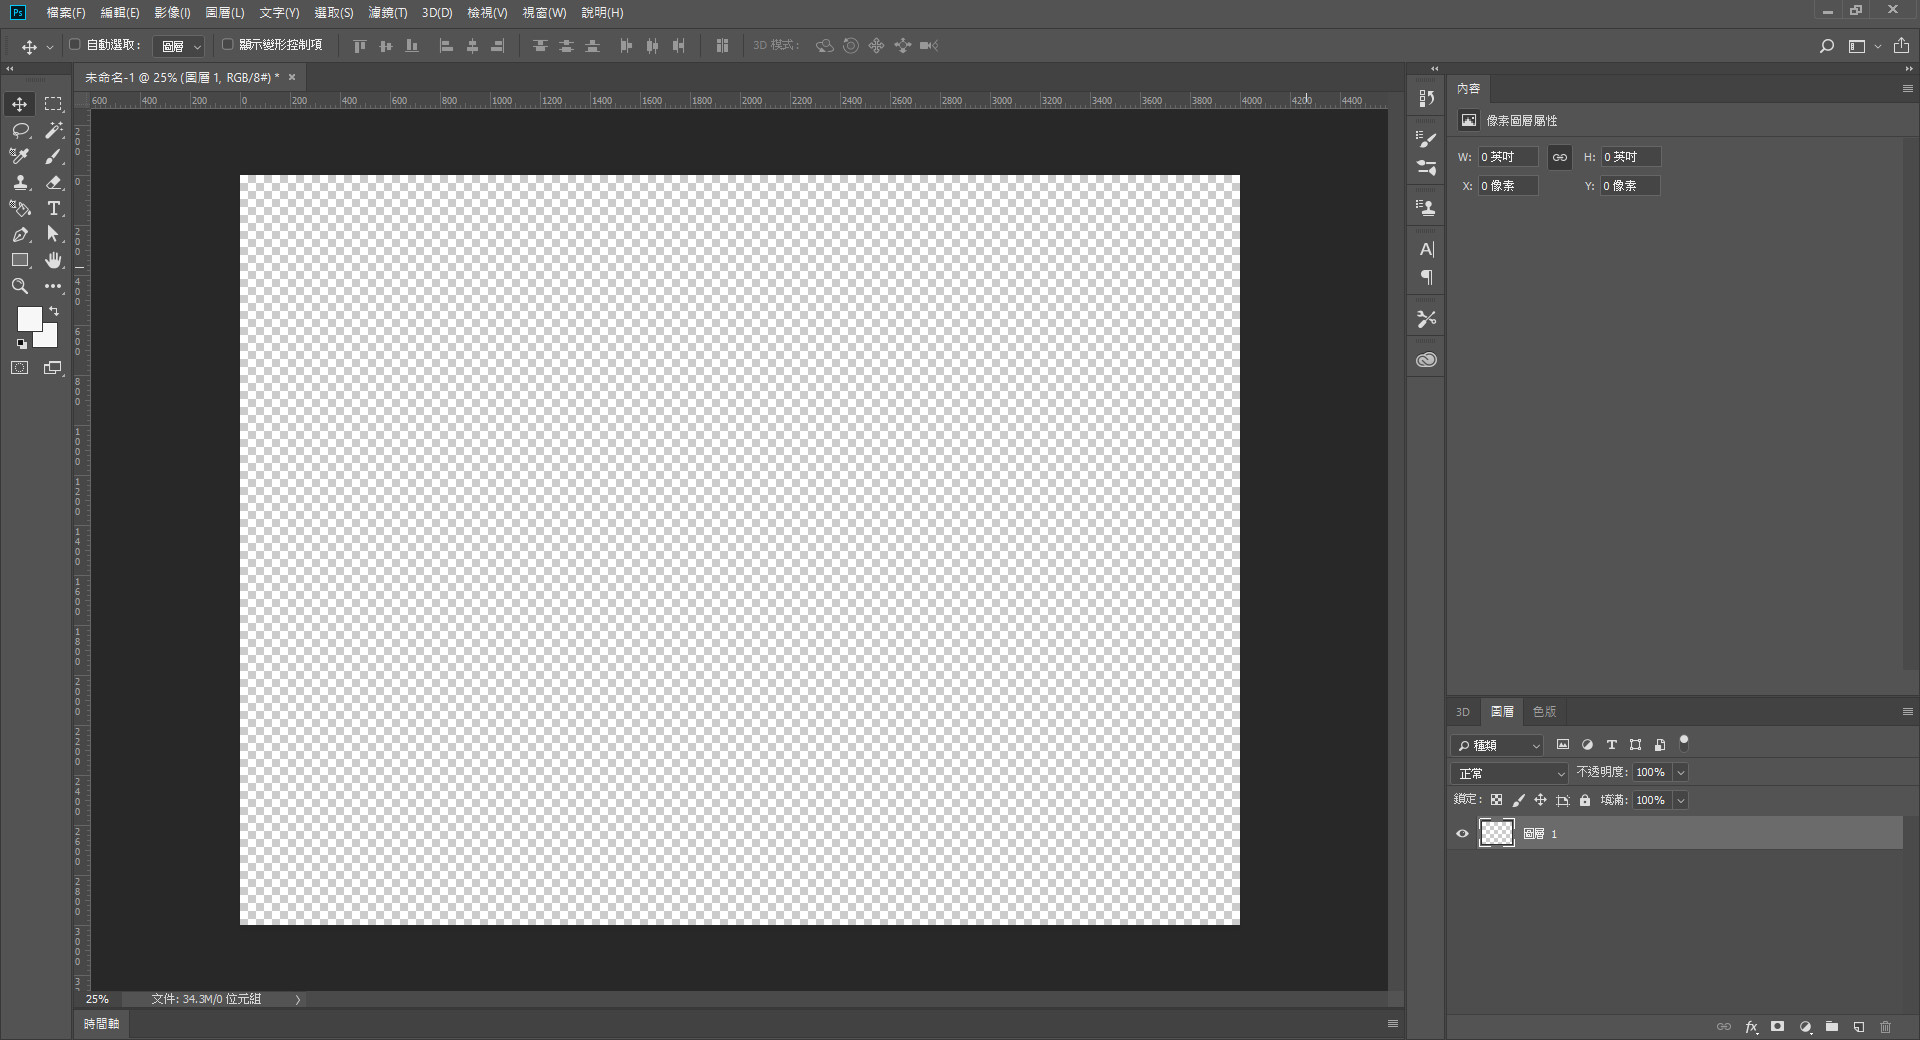
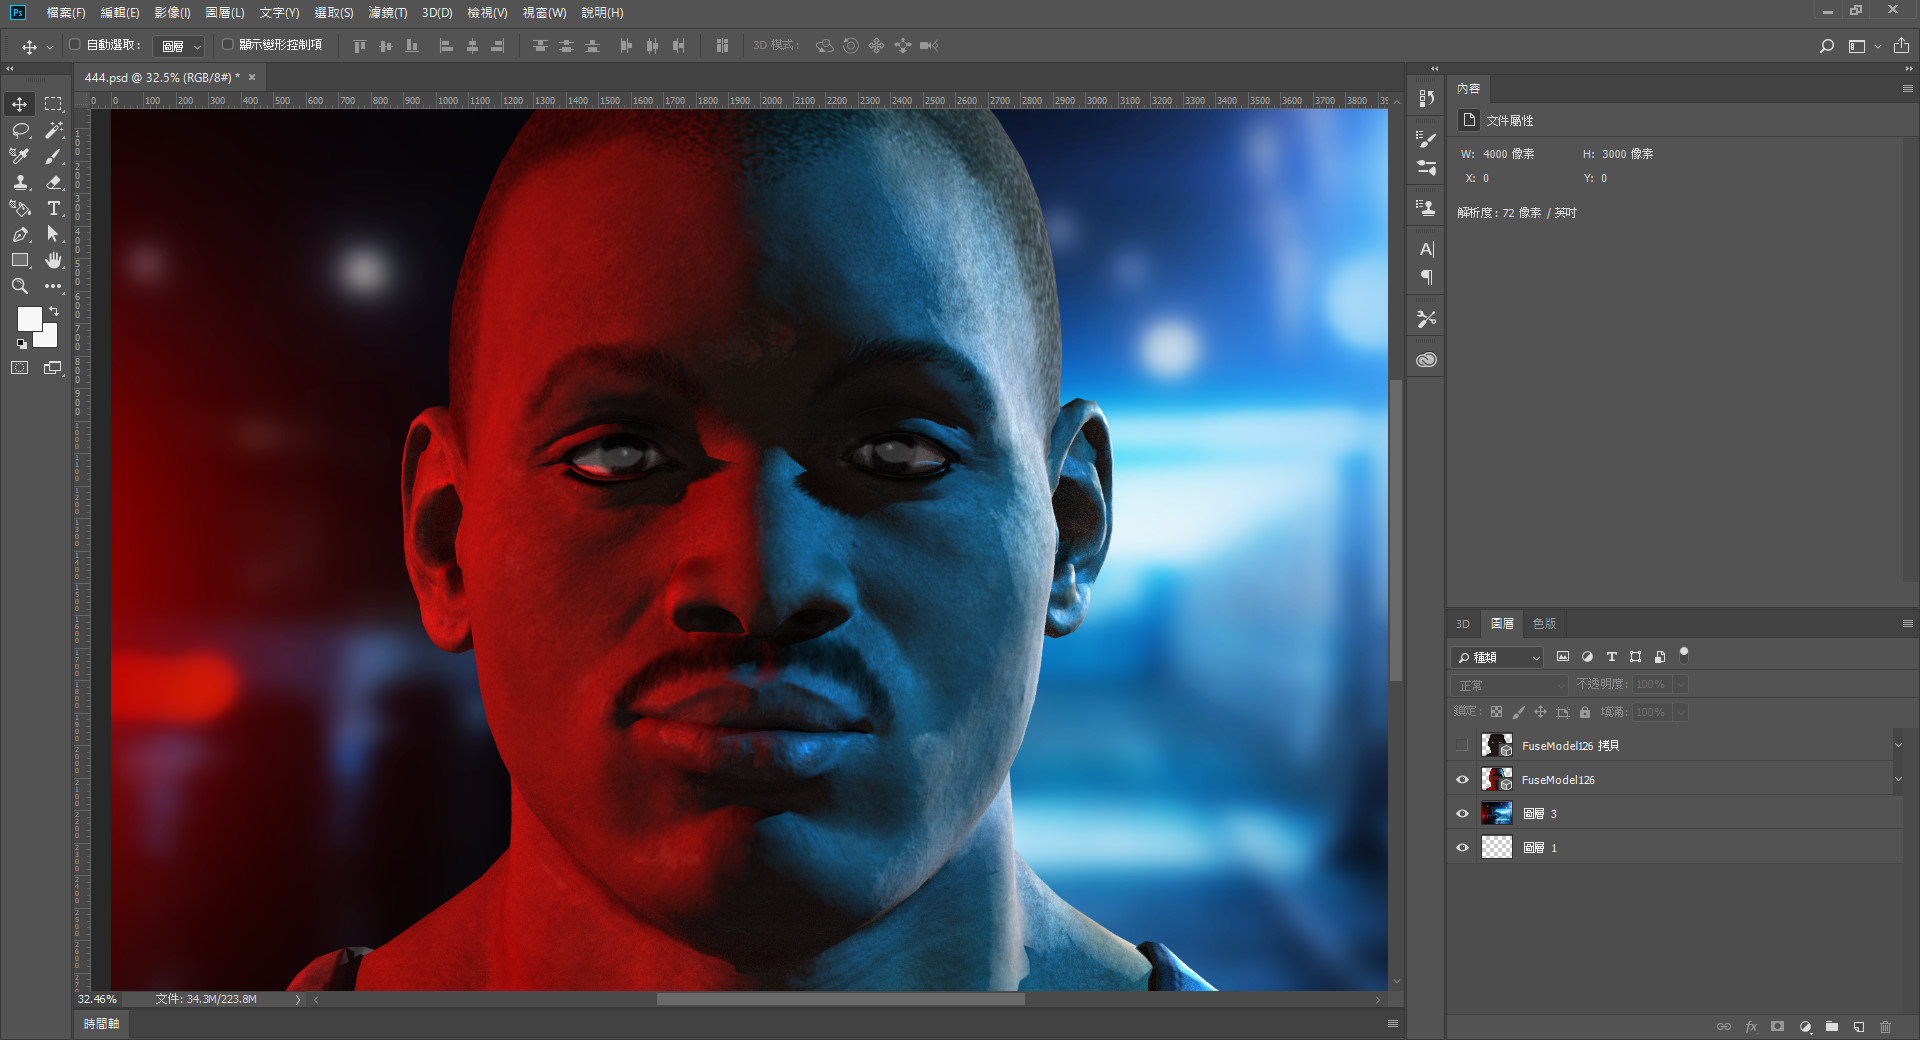
6. 在Photoshop中開啟需要的尺寸大小
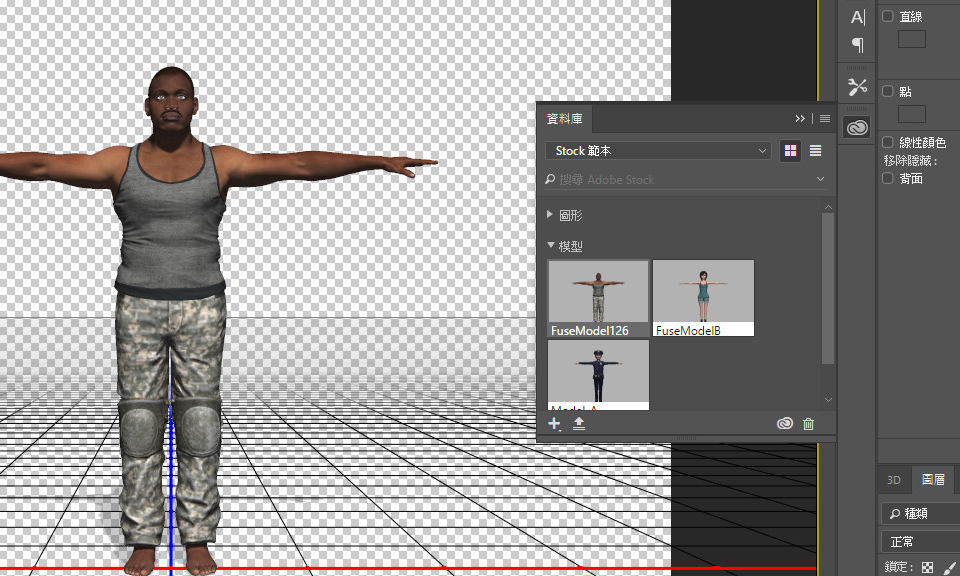
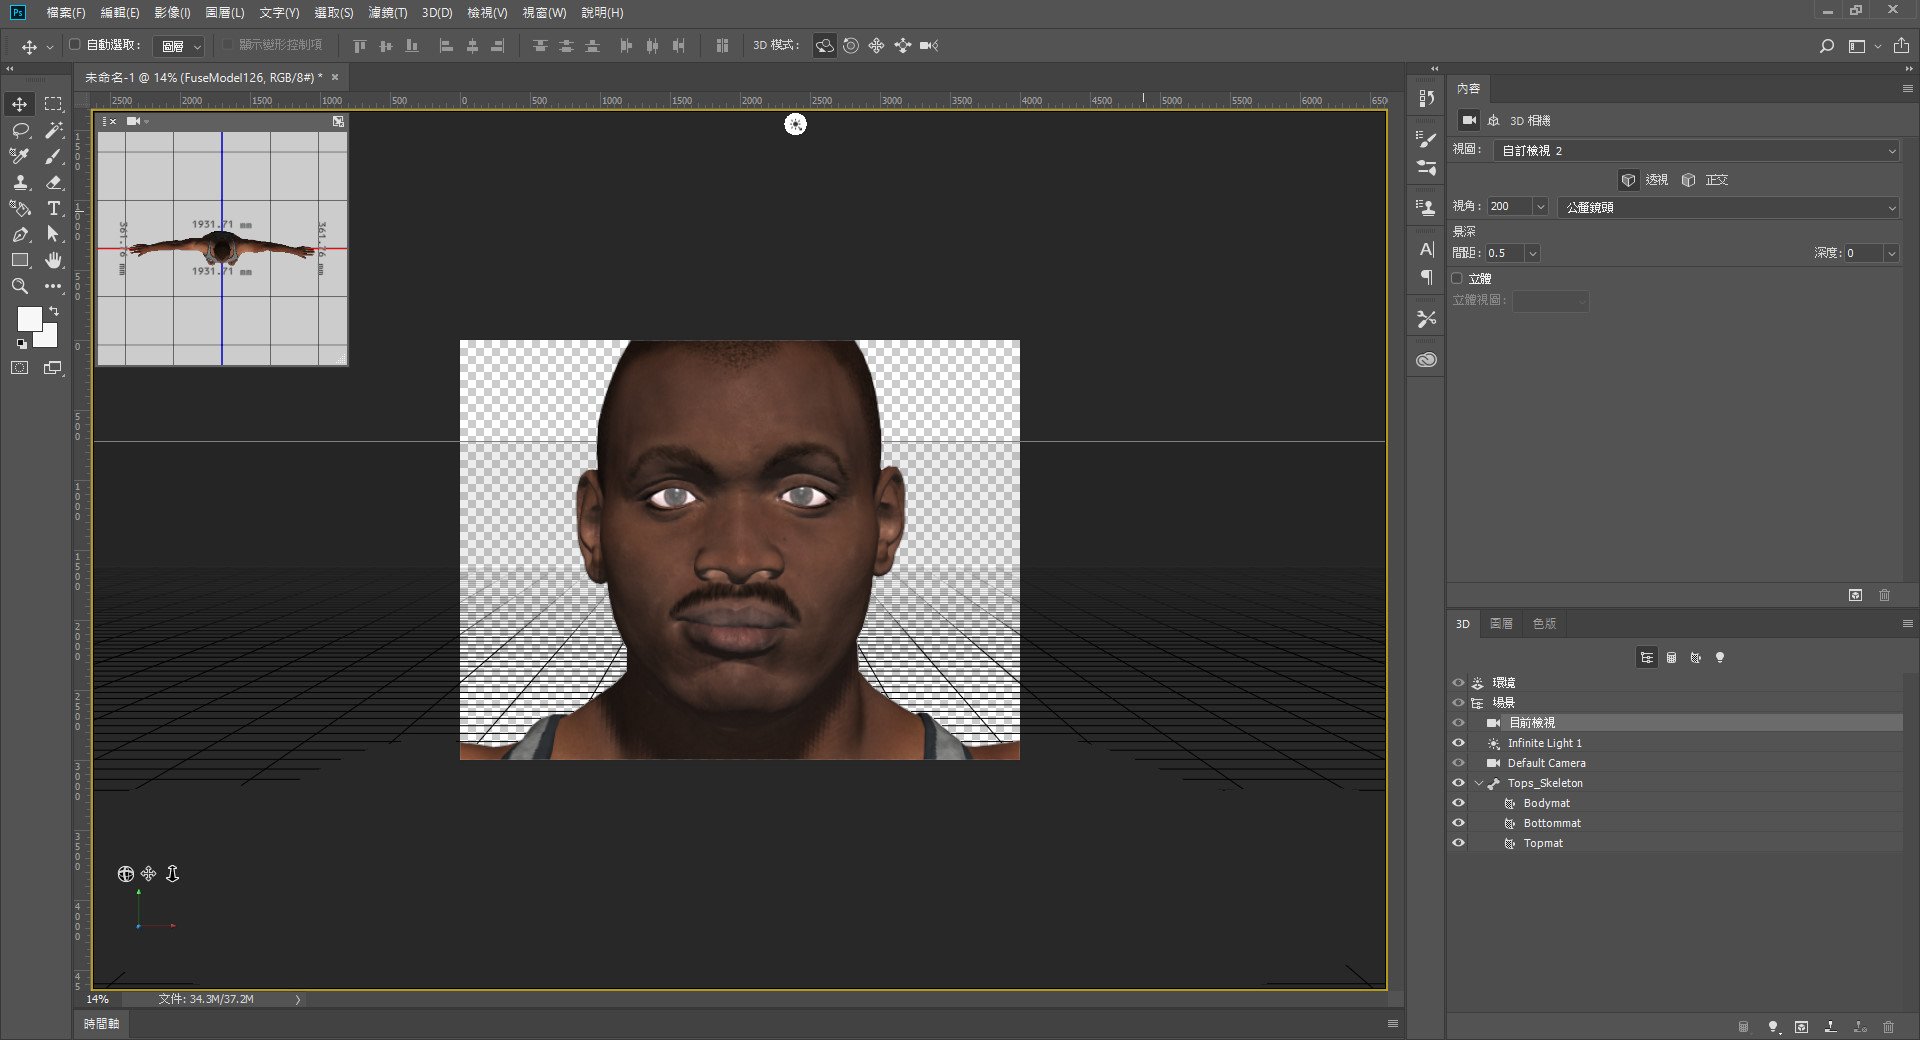
7. 將模型匯入
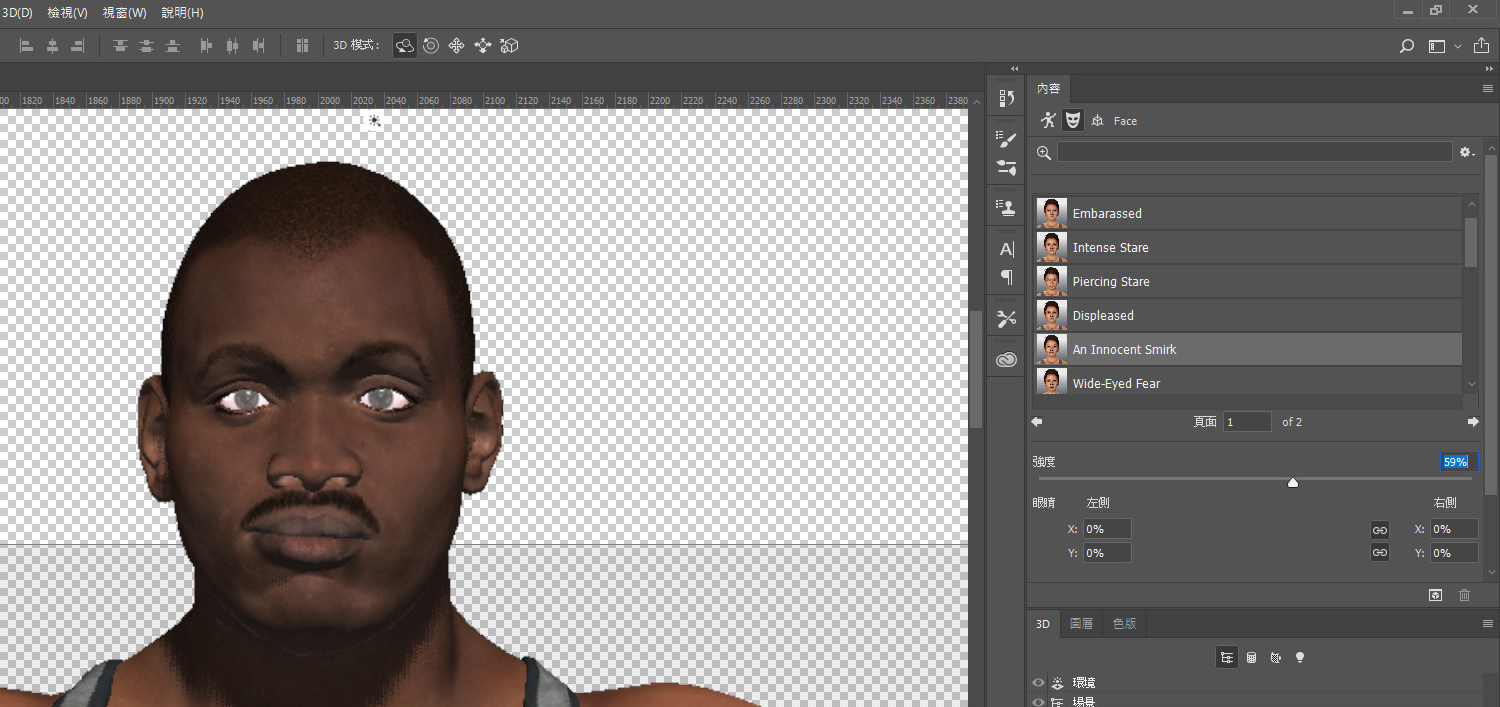
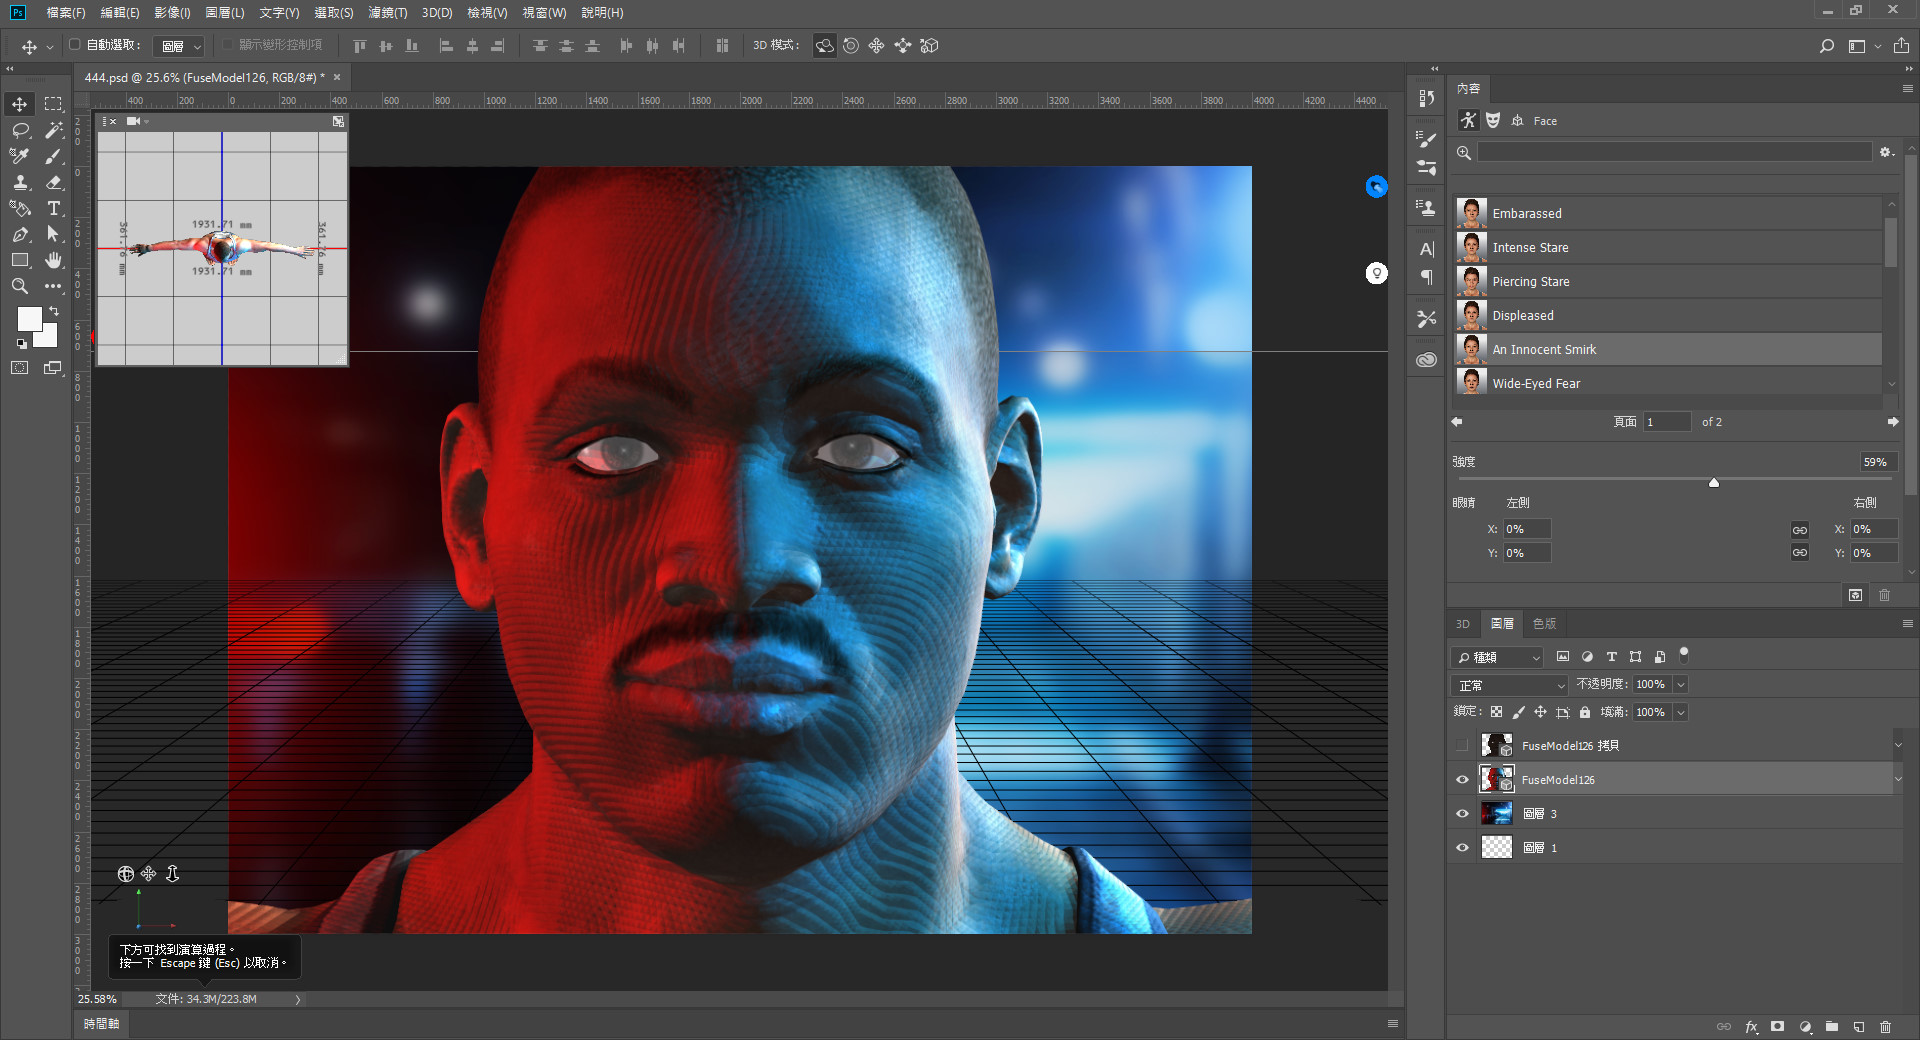
8. 在內容視窗中設定我們想要的表情
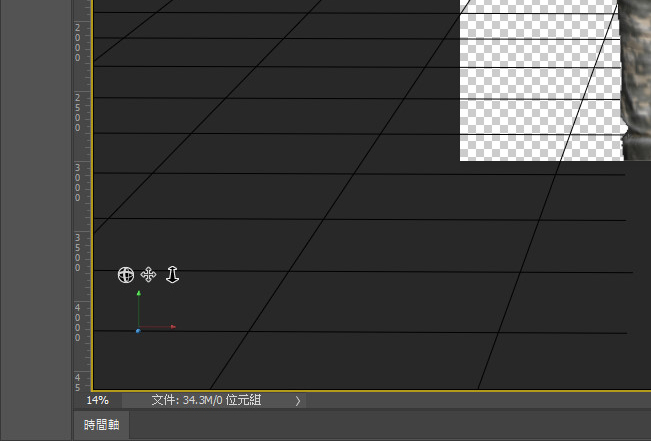
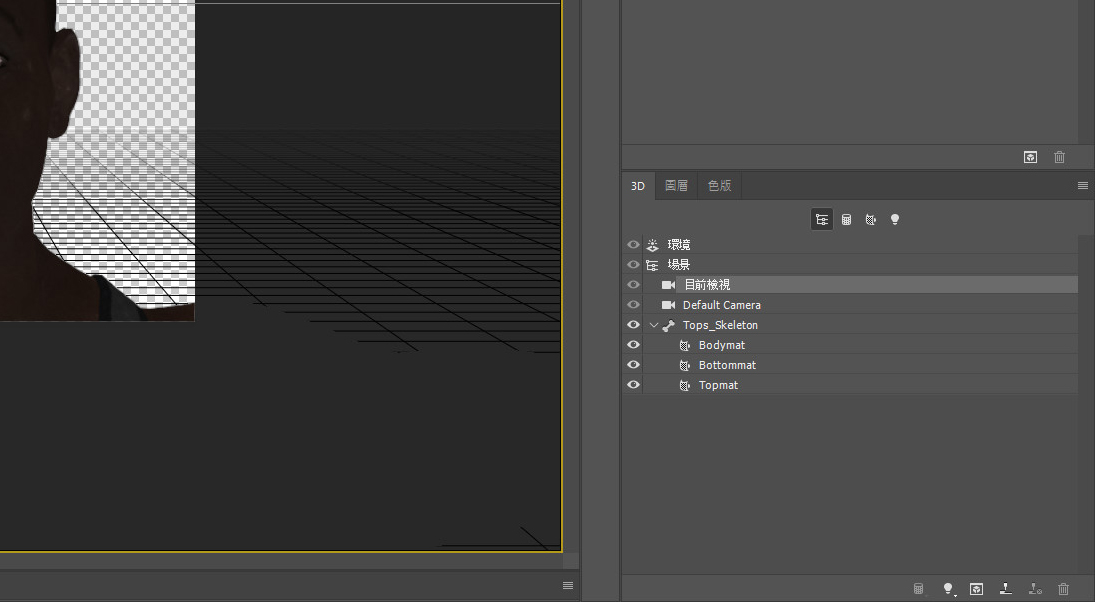
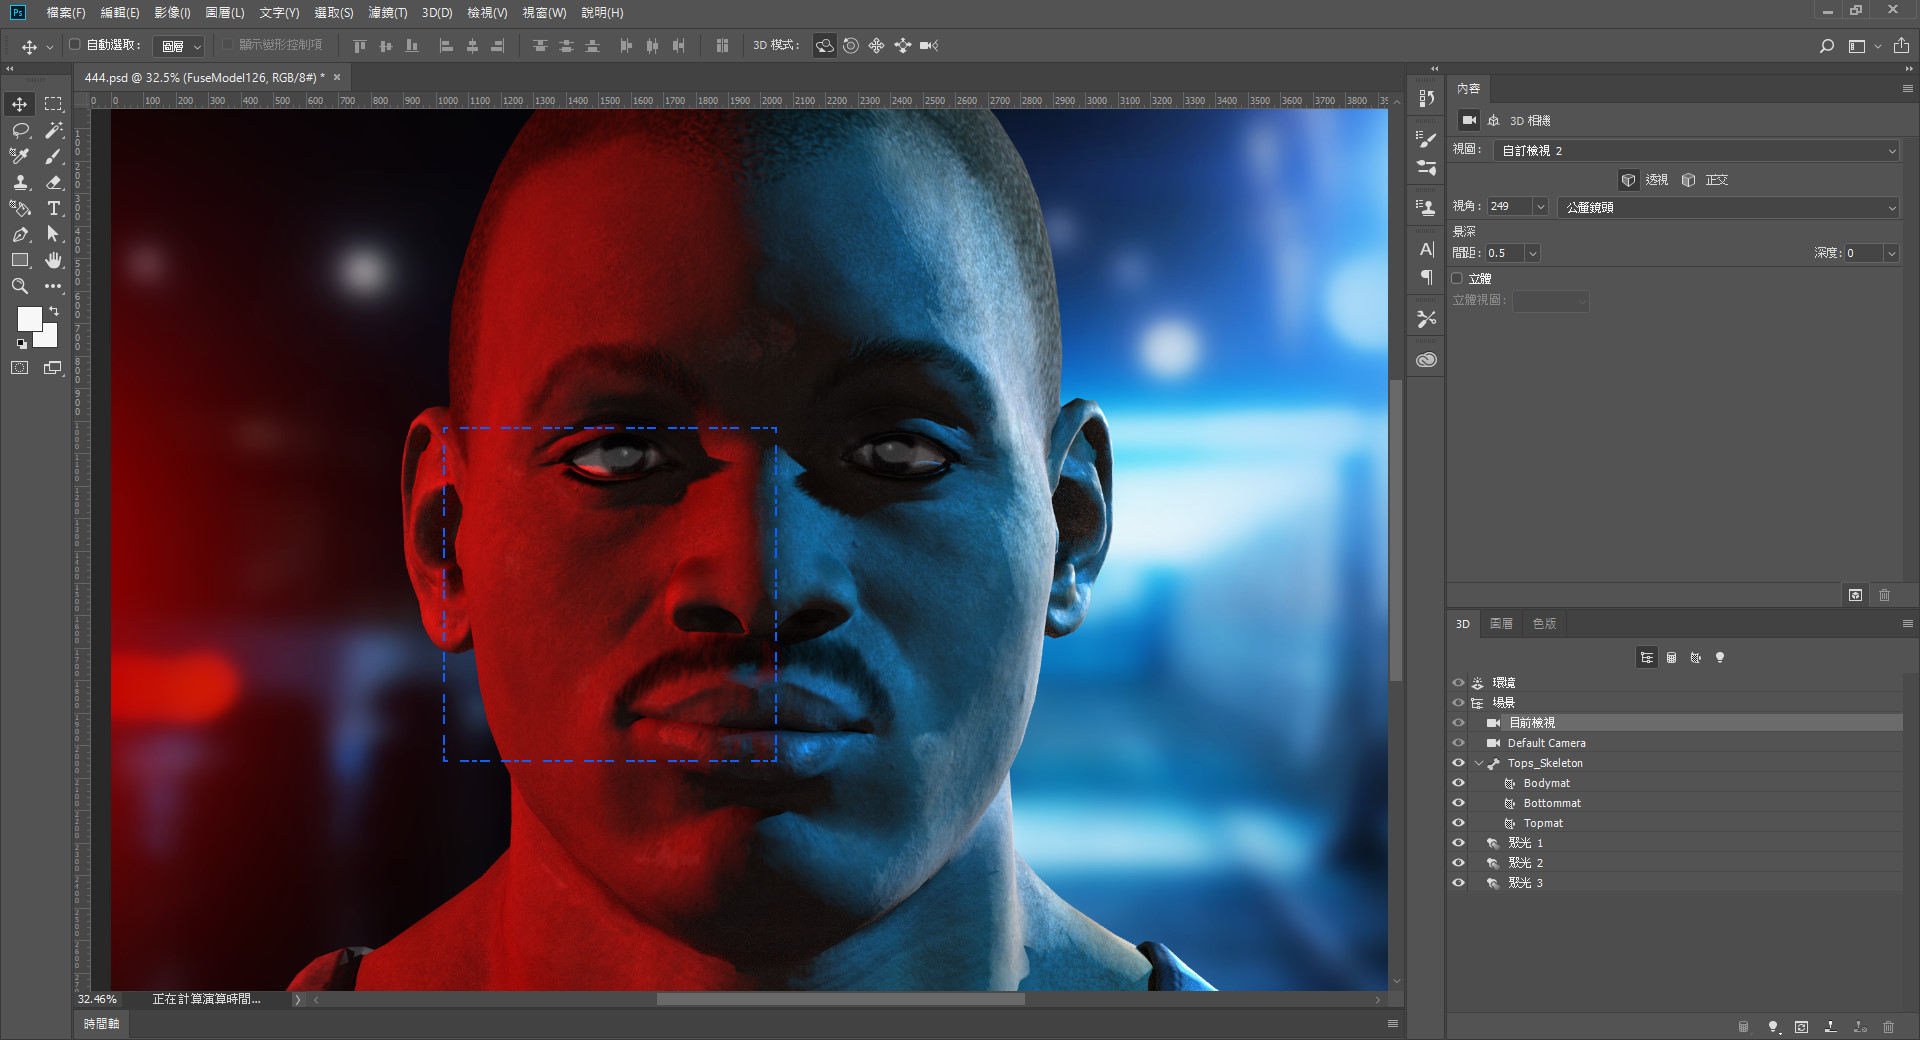
9. 由畫面左下方調整攝影機至我們想要的位置
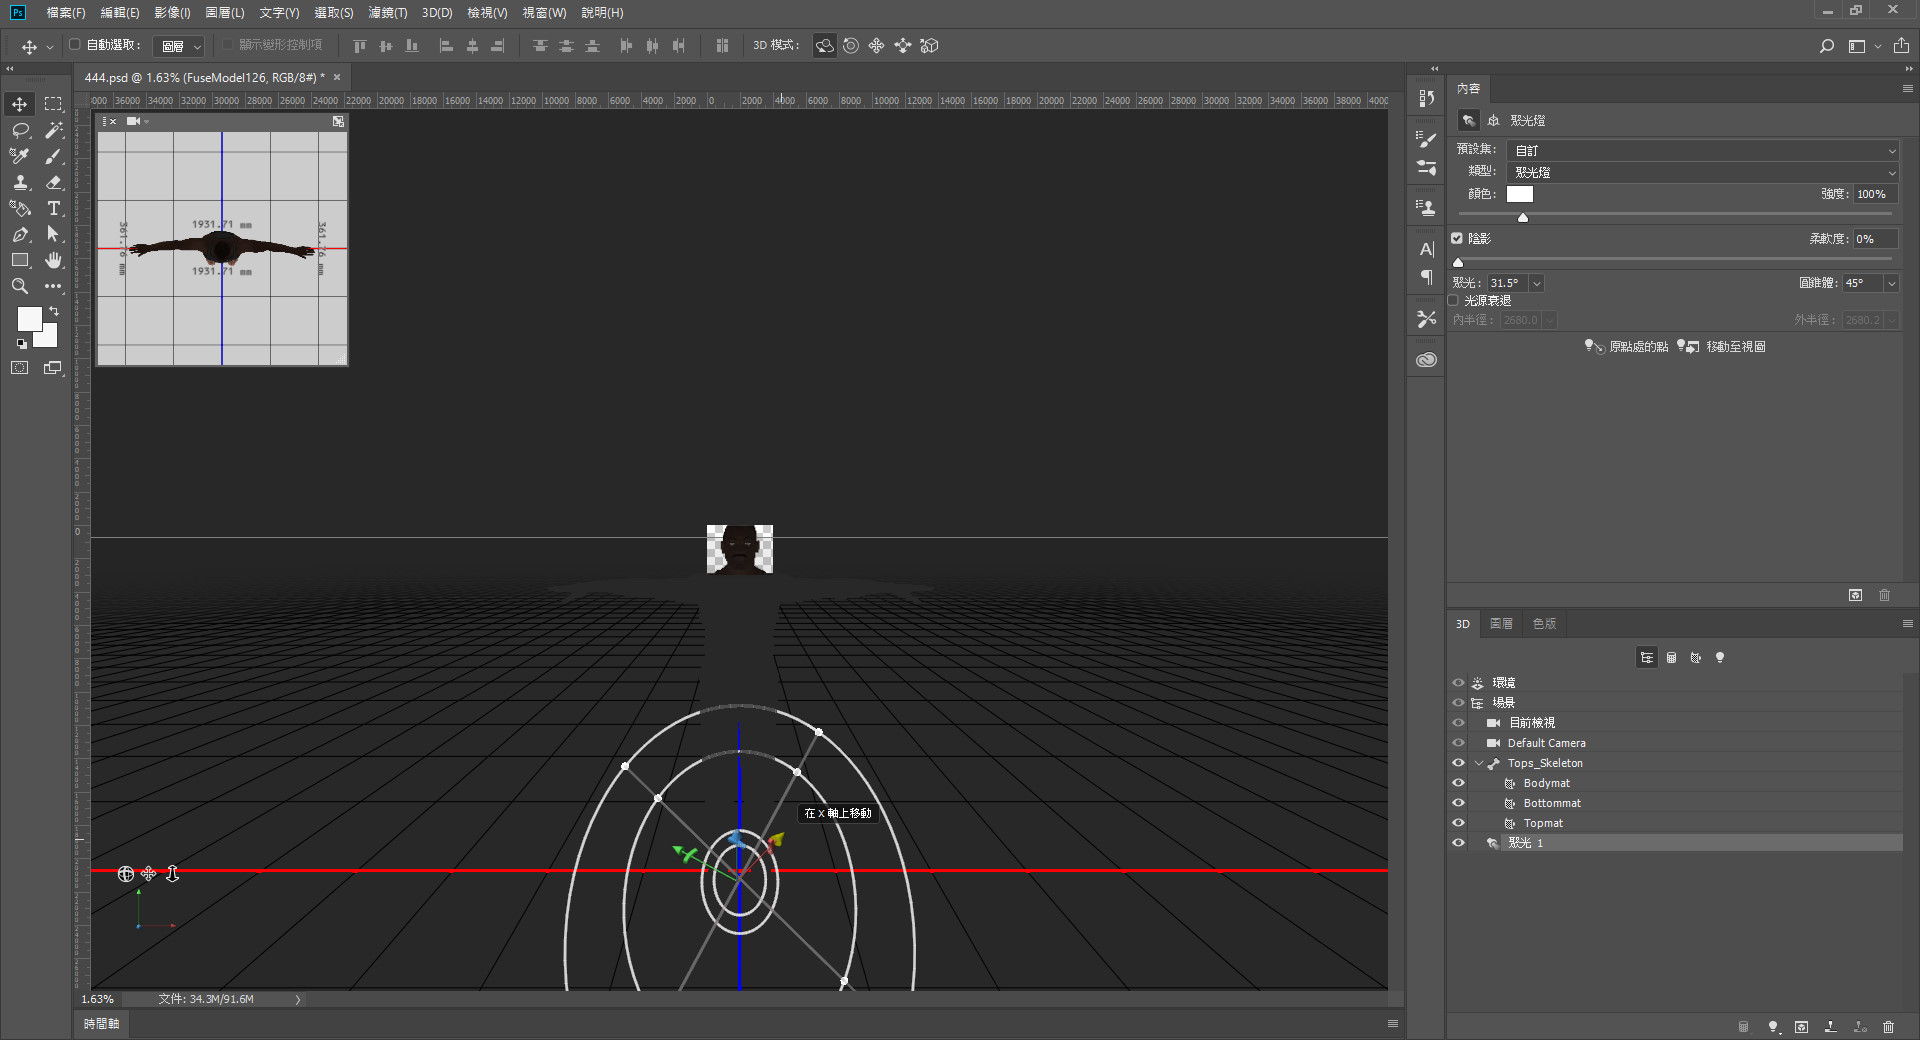
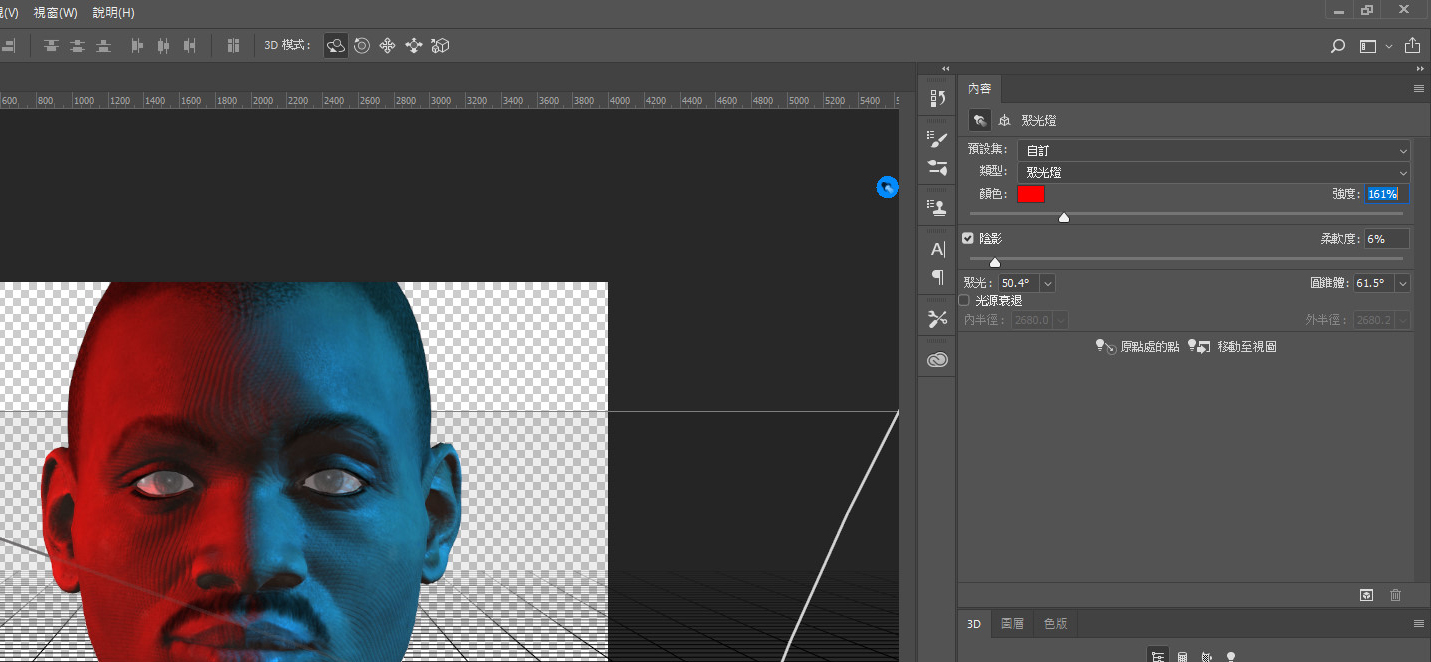
10. 接著我們修改光源的部分,在3D圖層中刪除原有燈光
11. 然後新增聚光燈

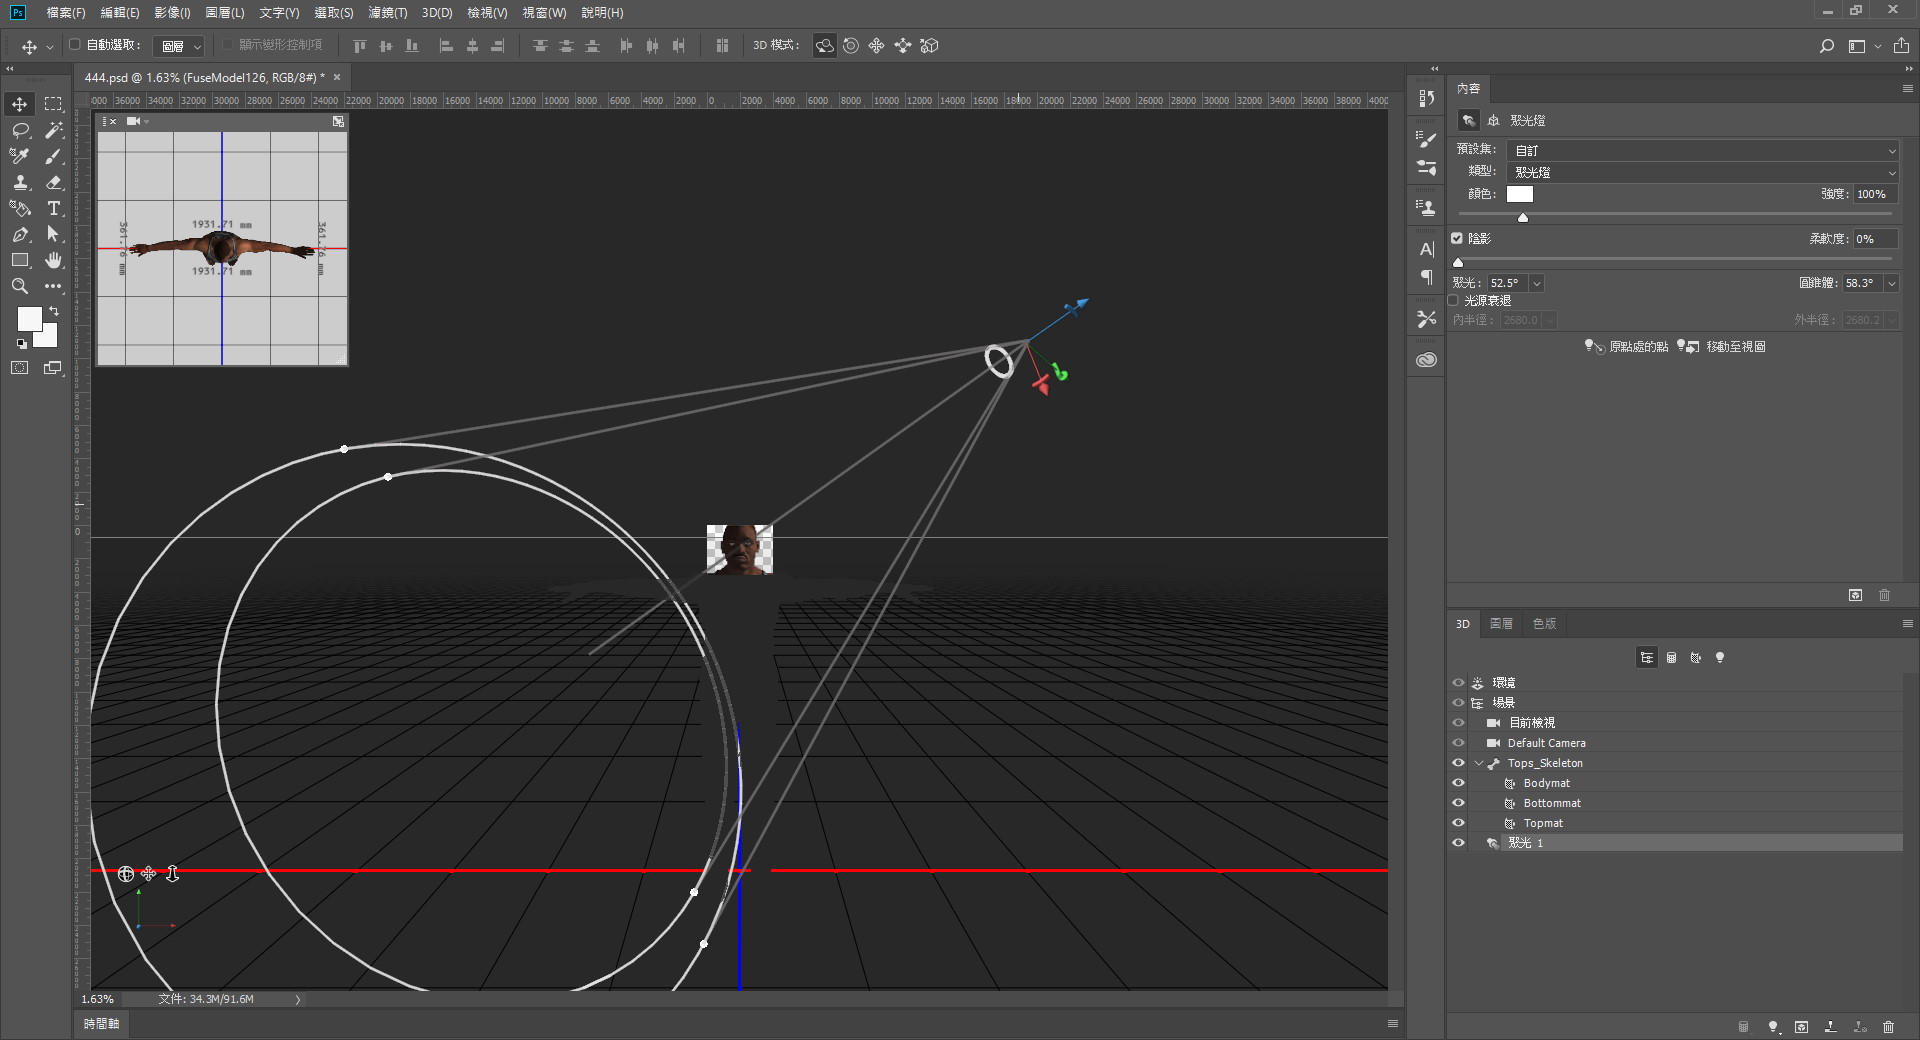
12. 將燈光調整至我們要的右側位置
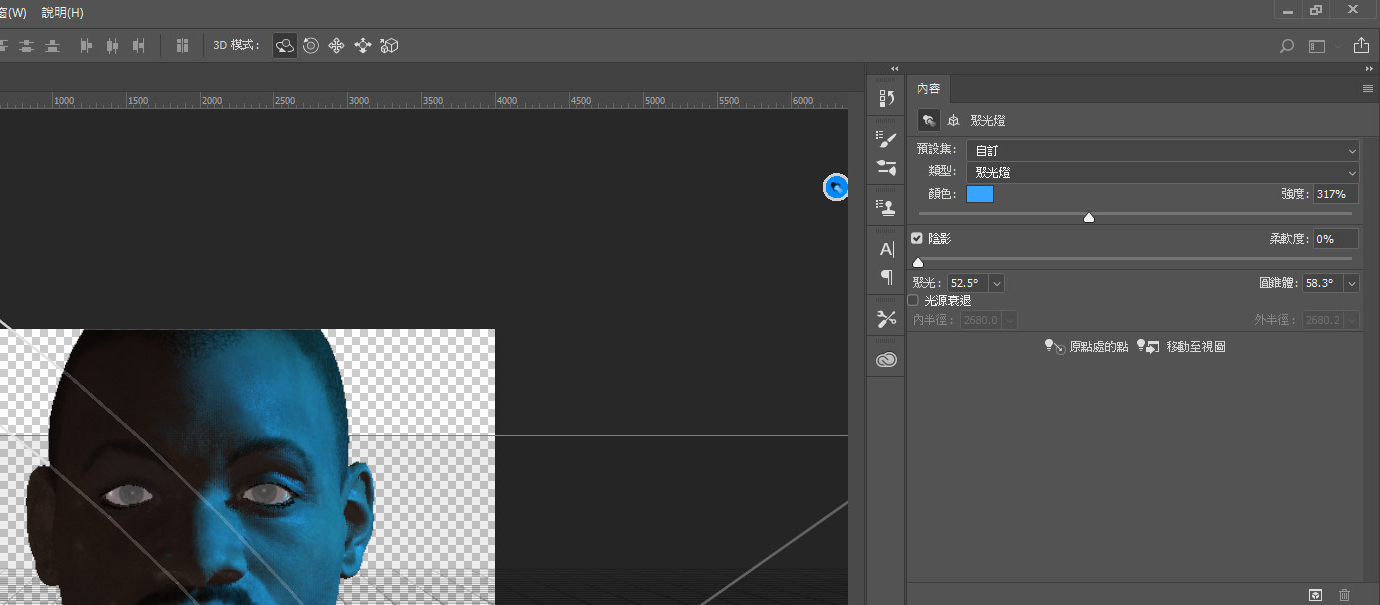
13. 並將燈光調整成藍色
14. 然後新增另一個聚光燈,並將燈光調整至左側位置
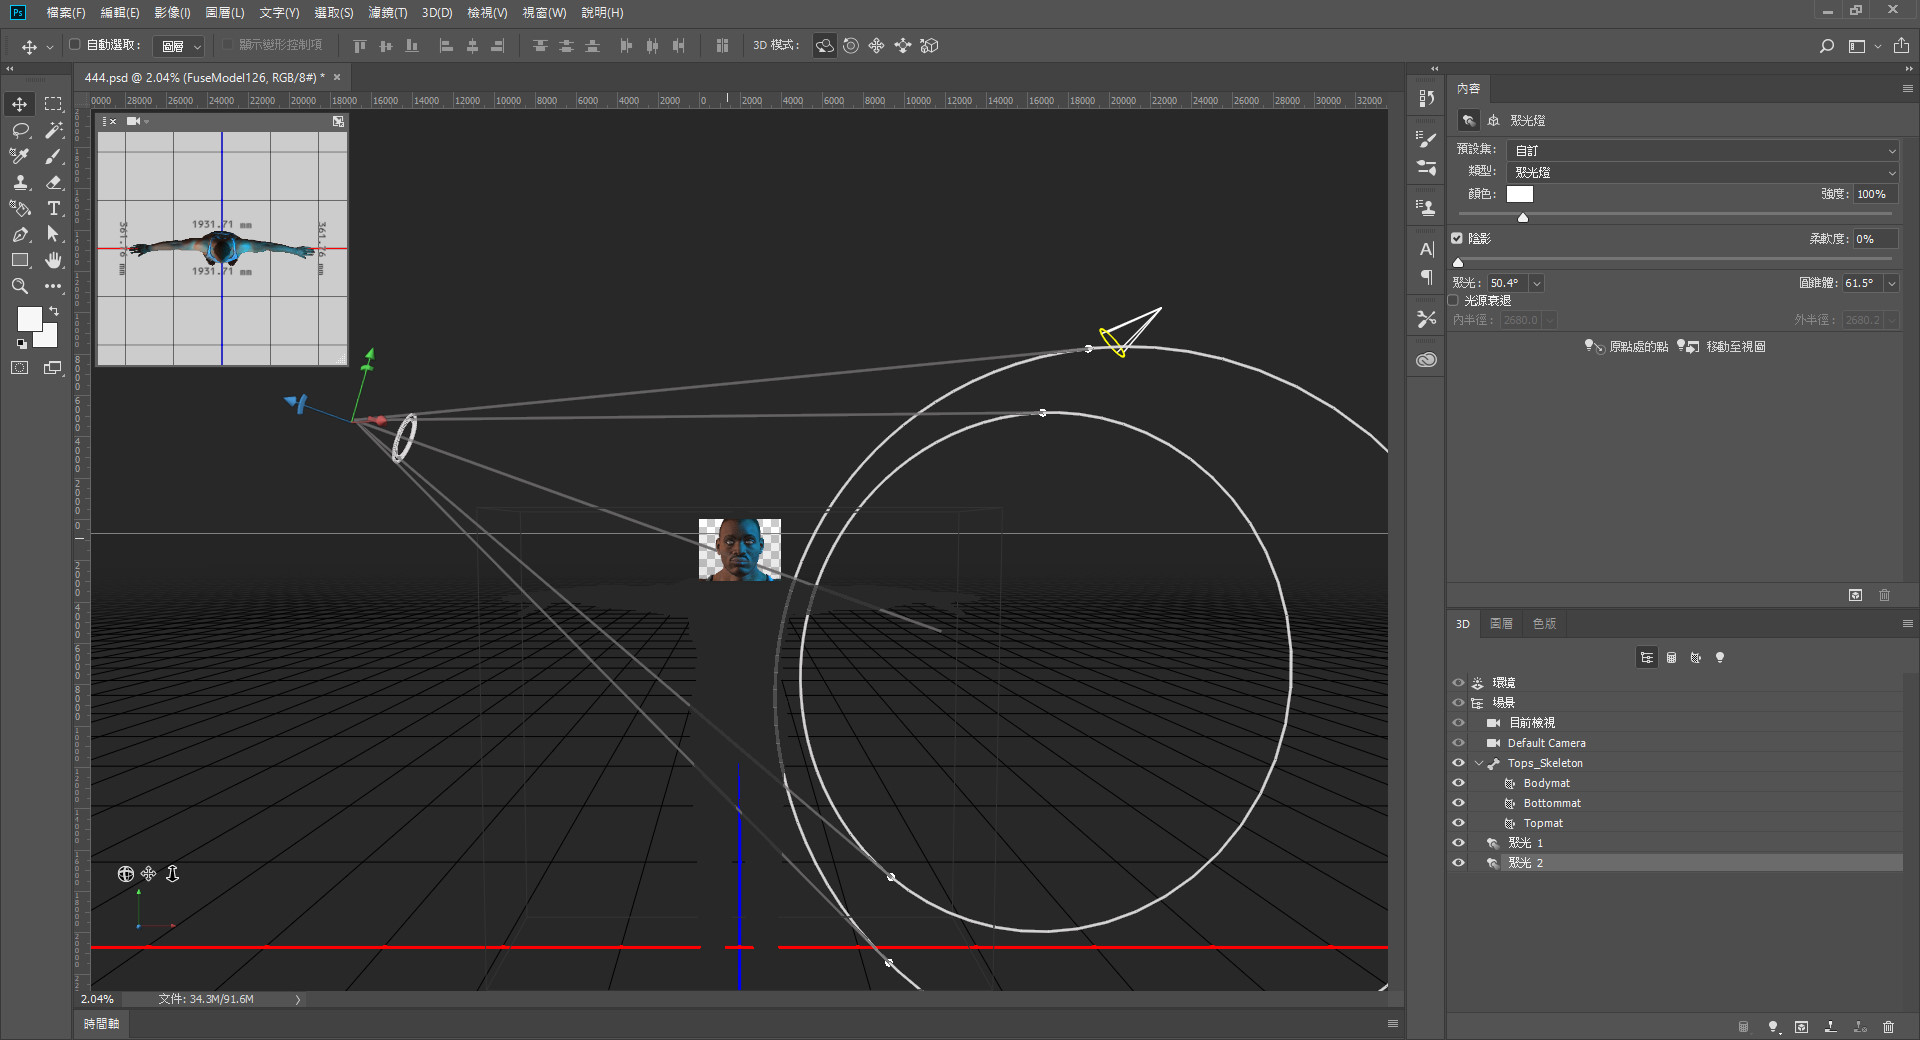
15. 將燈光調整成紅色
16. 放入背景圖片,看看合適性
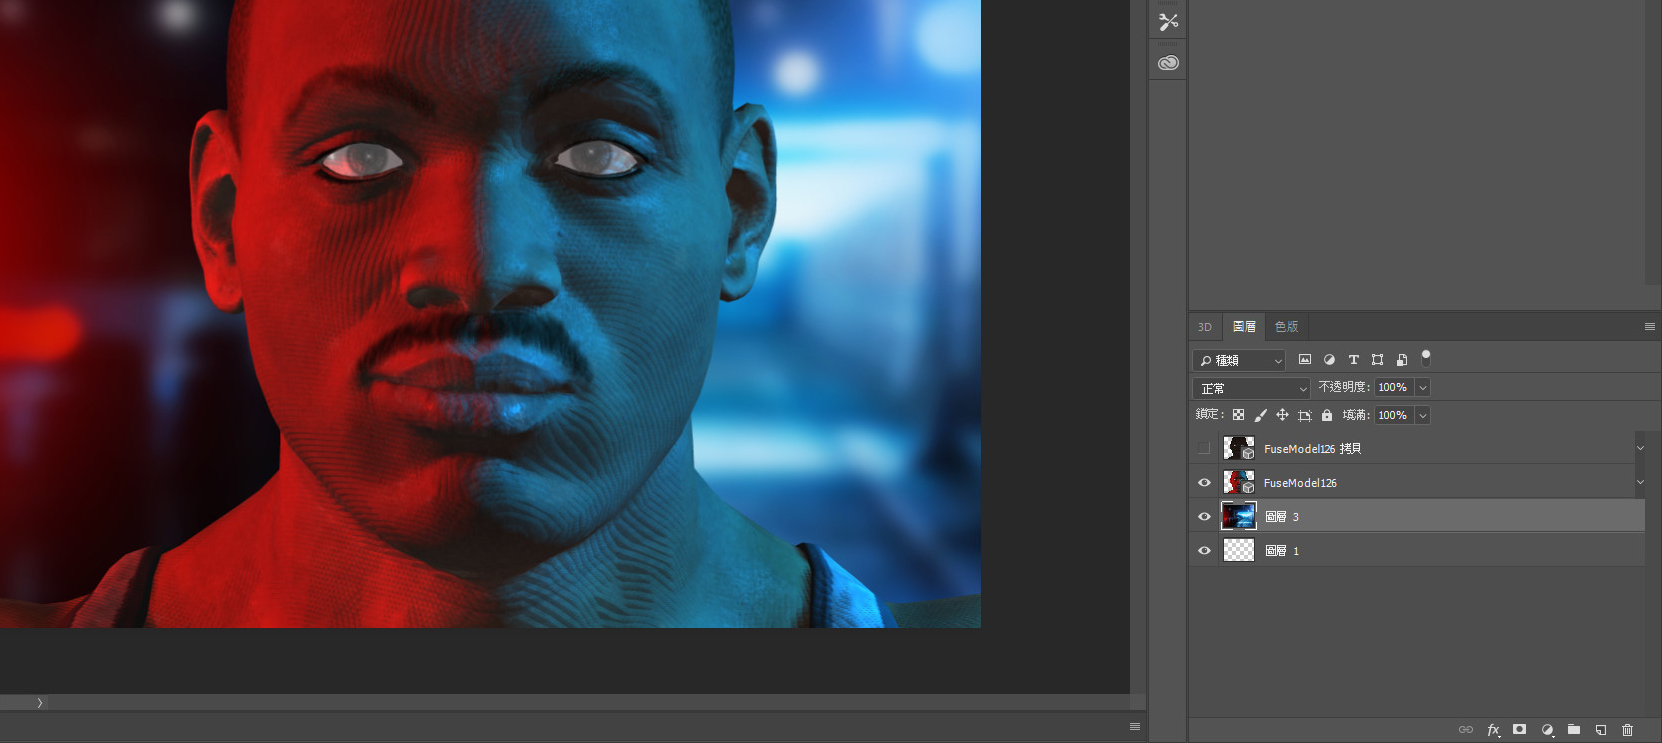
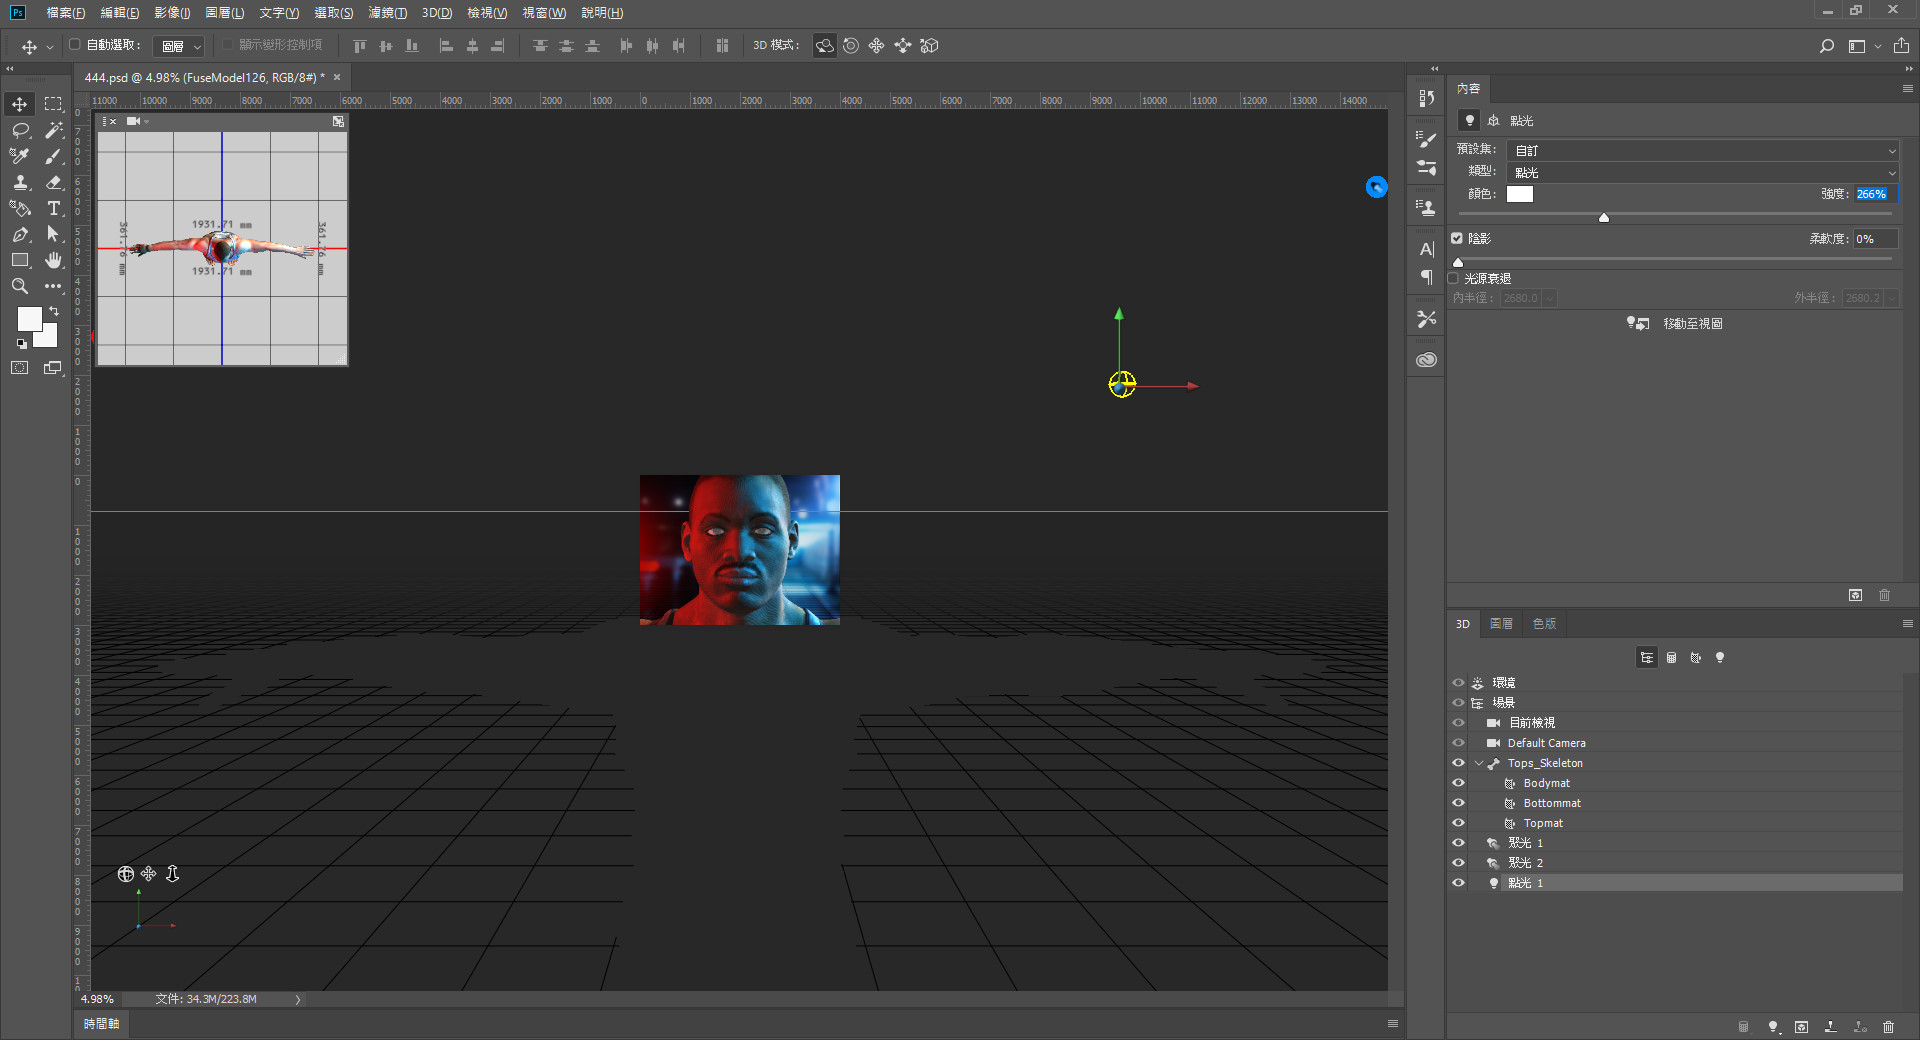
17. 再新增一個白色的點光源
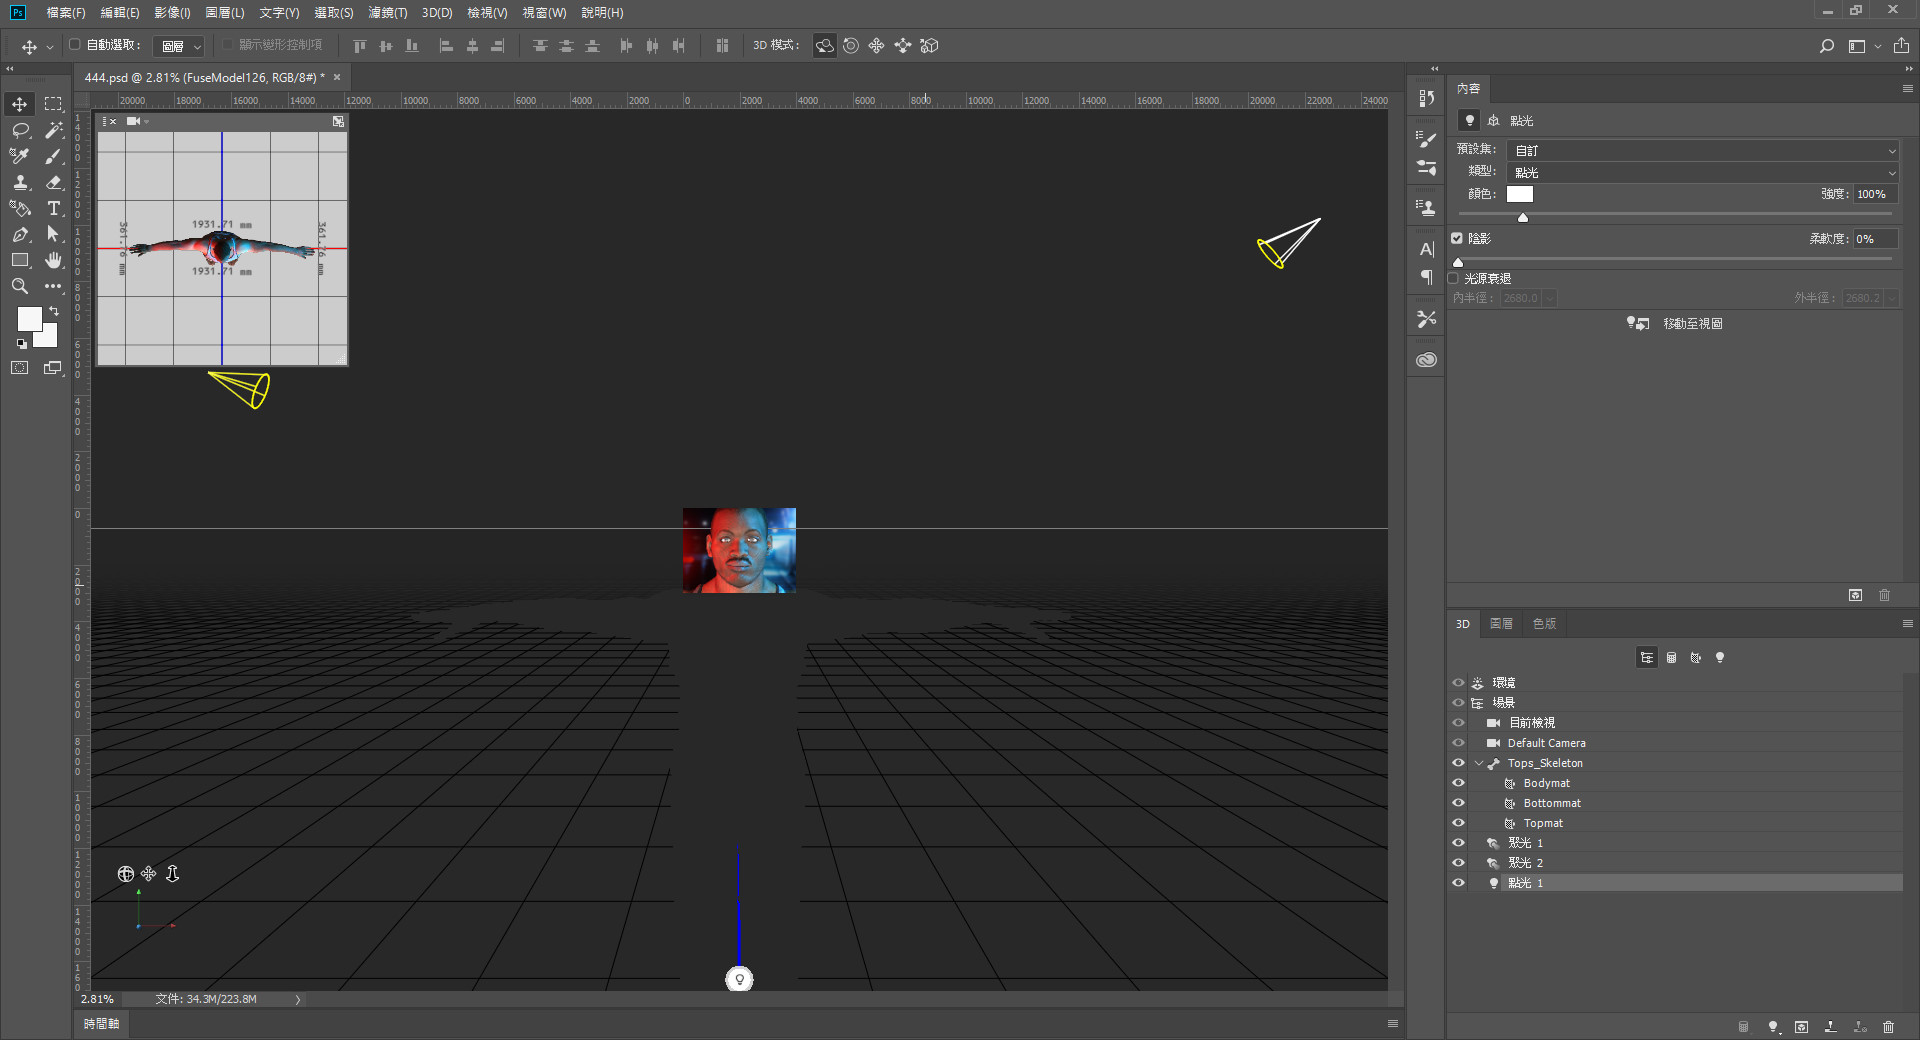
18. 搭配背景圖的光源,調至右後方
19. 將圖片演算出來就完成囉
以上是本次針對Fuse與Photoshop的示範,敬請期待後續接著開始做Photoshop修圖部分唷!
如對本系列有興趣,可以參考其他篇或是更多有關Photoshop使用技巧:Photoshop教學導覽
或是追蹤我們的粉絲專頁,就不會錯過最新文章囉!


我要留言